Welcome, Thank you for purchasing Collie!
Here you'll find all the information you need to start filling in your content and making some basic changes to your template!
If you're not completely familiar with Webflow and how it works, I recommend checking out the Webflow 101 Course on the Webflow university. This will teach you all the basics so you feel a bit more comfortable messing around with the styling. If you ever get stuck, don't hesitate to reach out for some help, I'm more than willing to lend a hand!
Styling
Colors
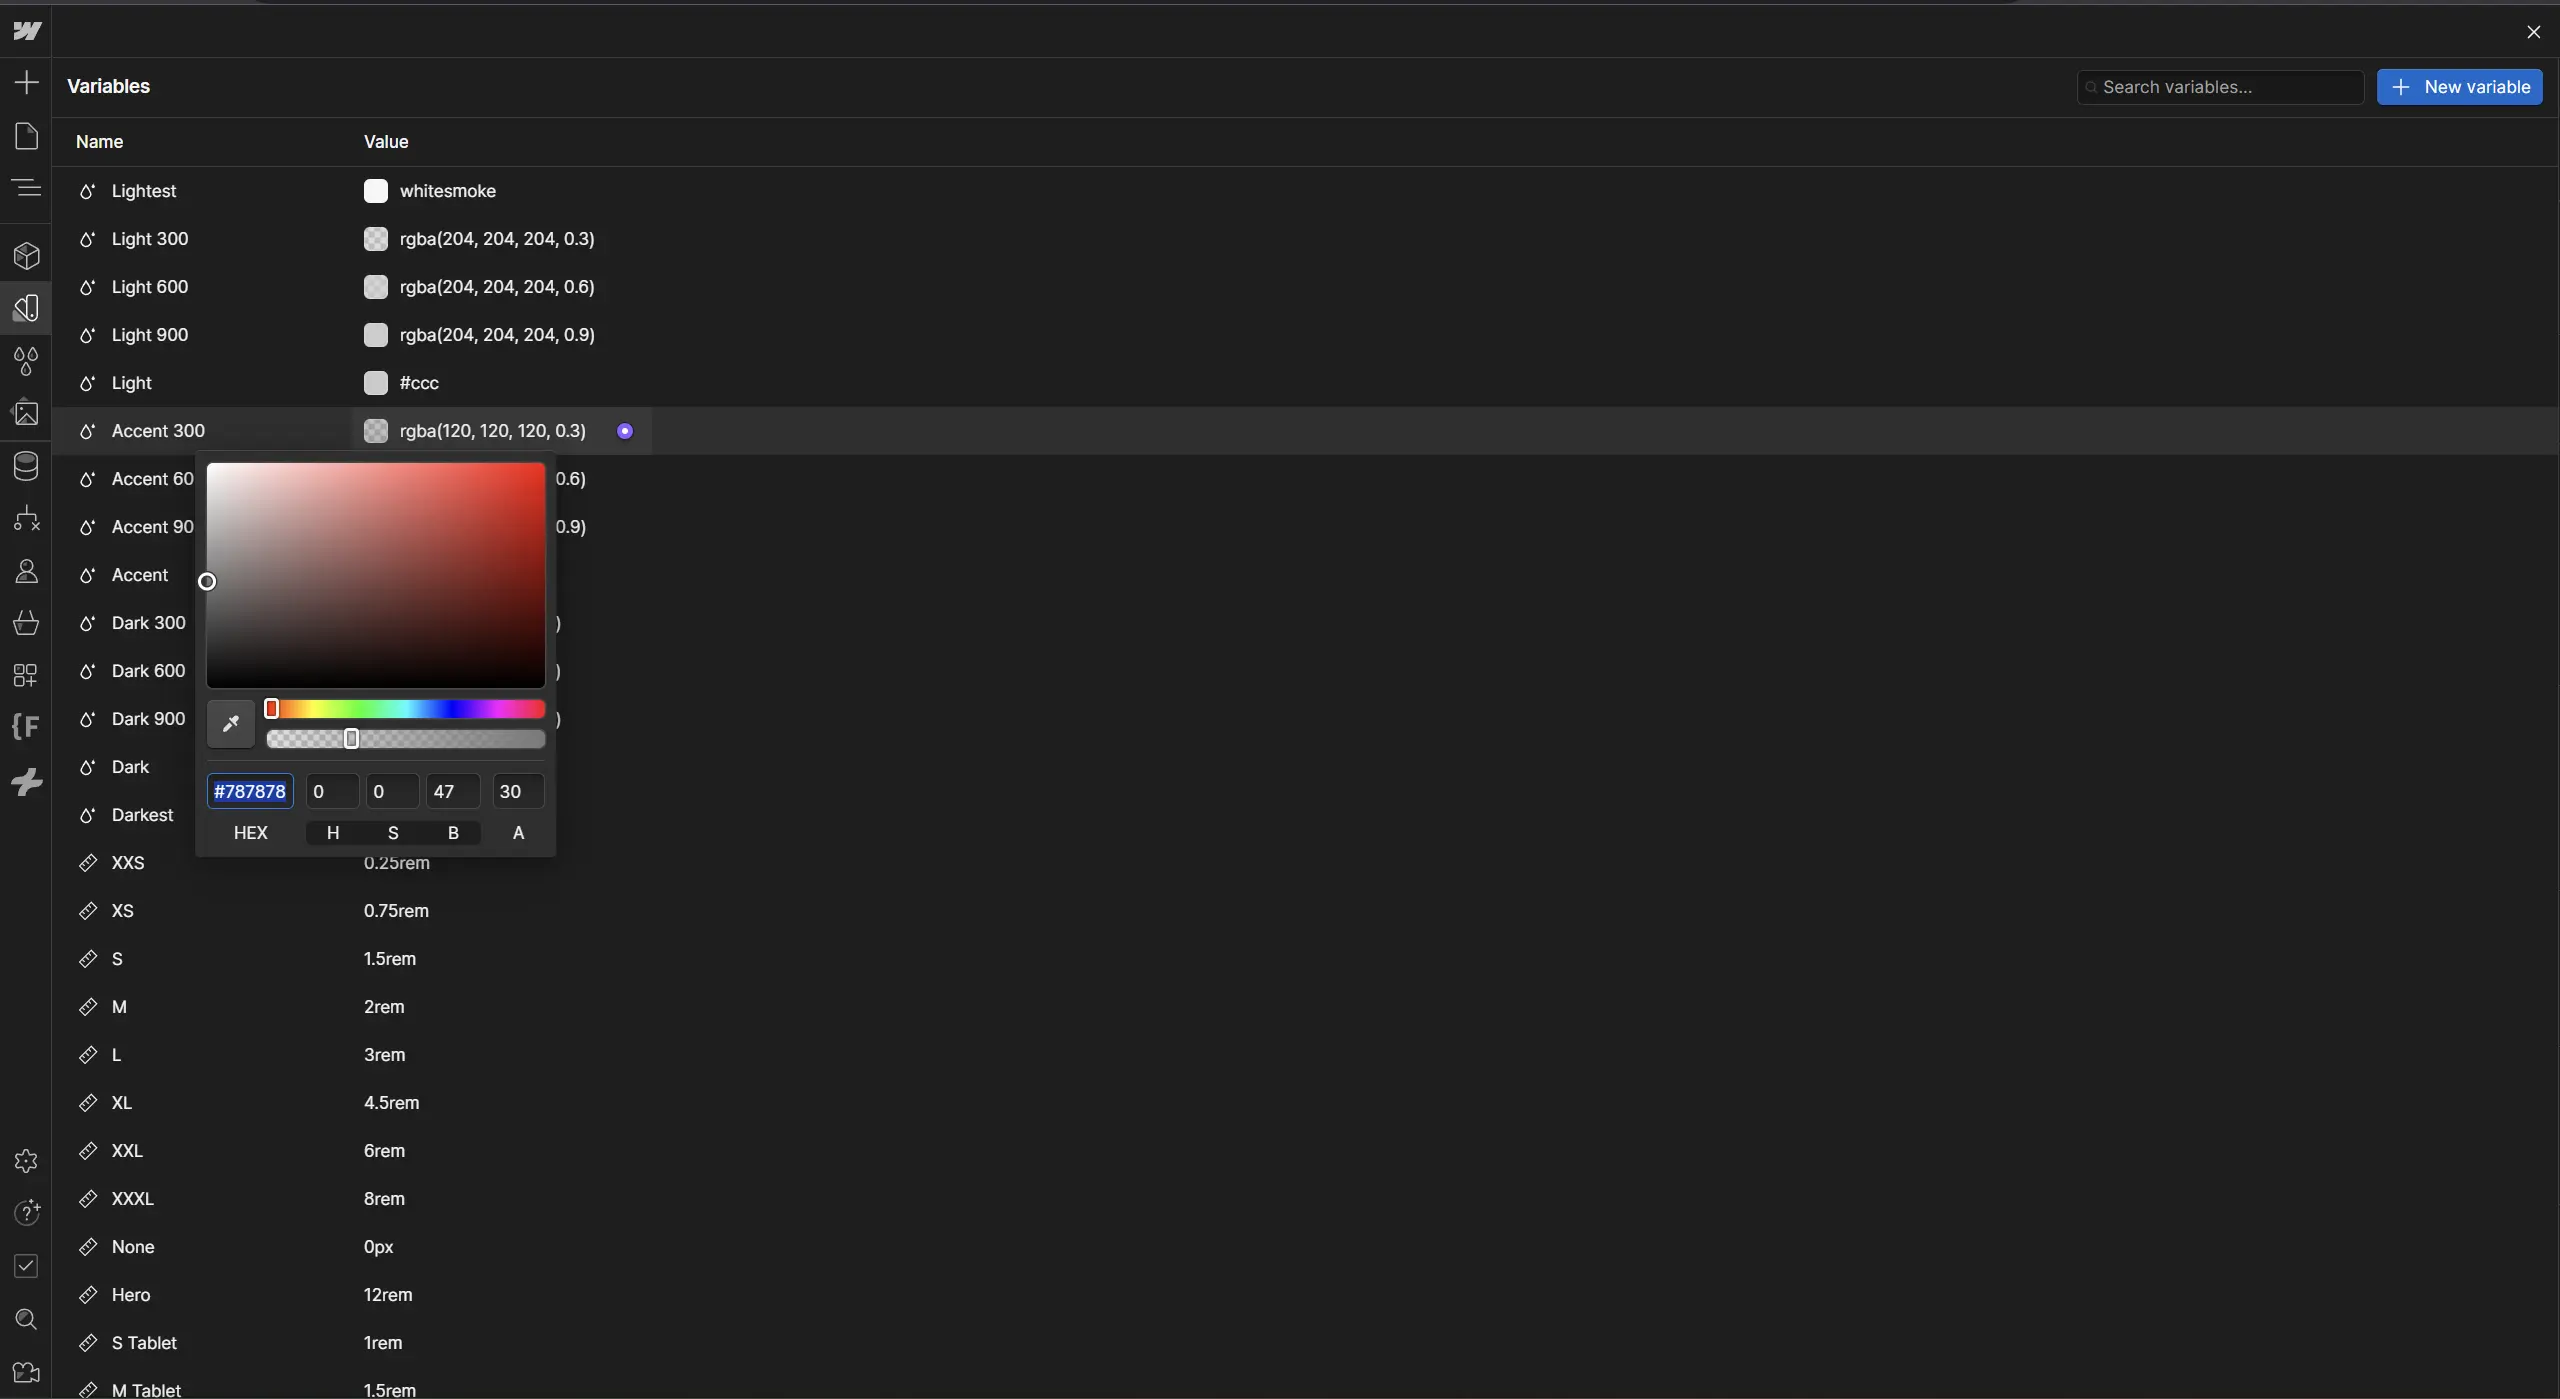
All of the colors in Collie's color palette are saved to variables, this means they can be edited and the changes will occur sitewide.
If you'd like to edit the templates colors, simply head to the variables tab in the sidebar, from here you can view all of the sites variables, but most importantly the colors. You can now just simply click on a color value for one of the variables and edit it. This will change all instances of this color found all over the site.
Typography/Fonts
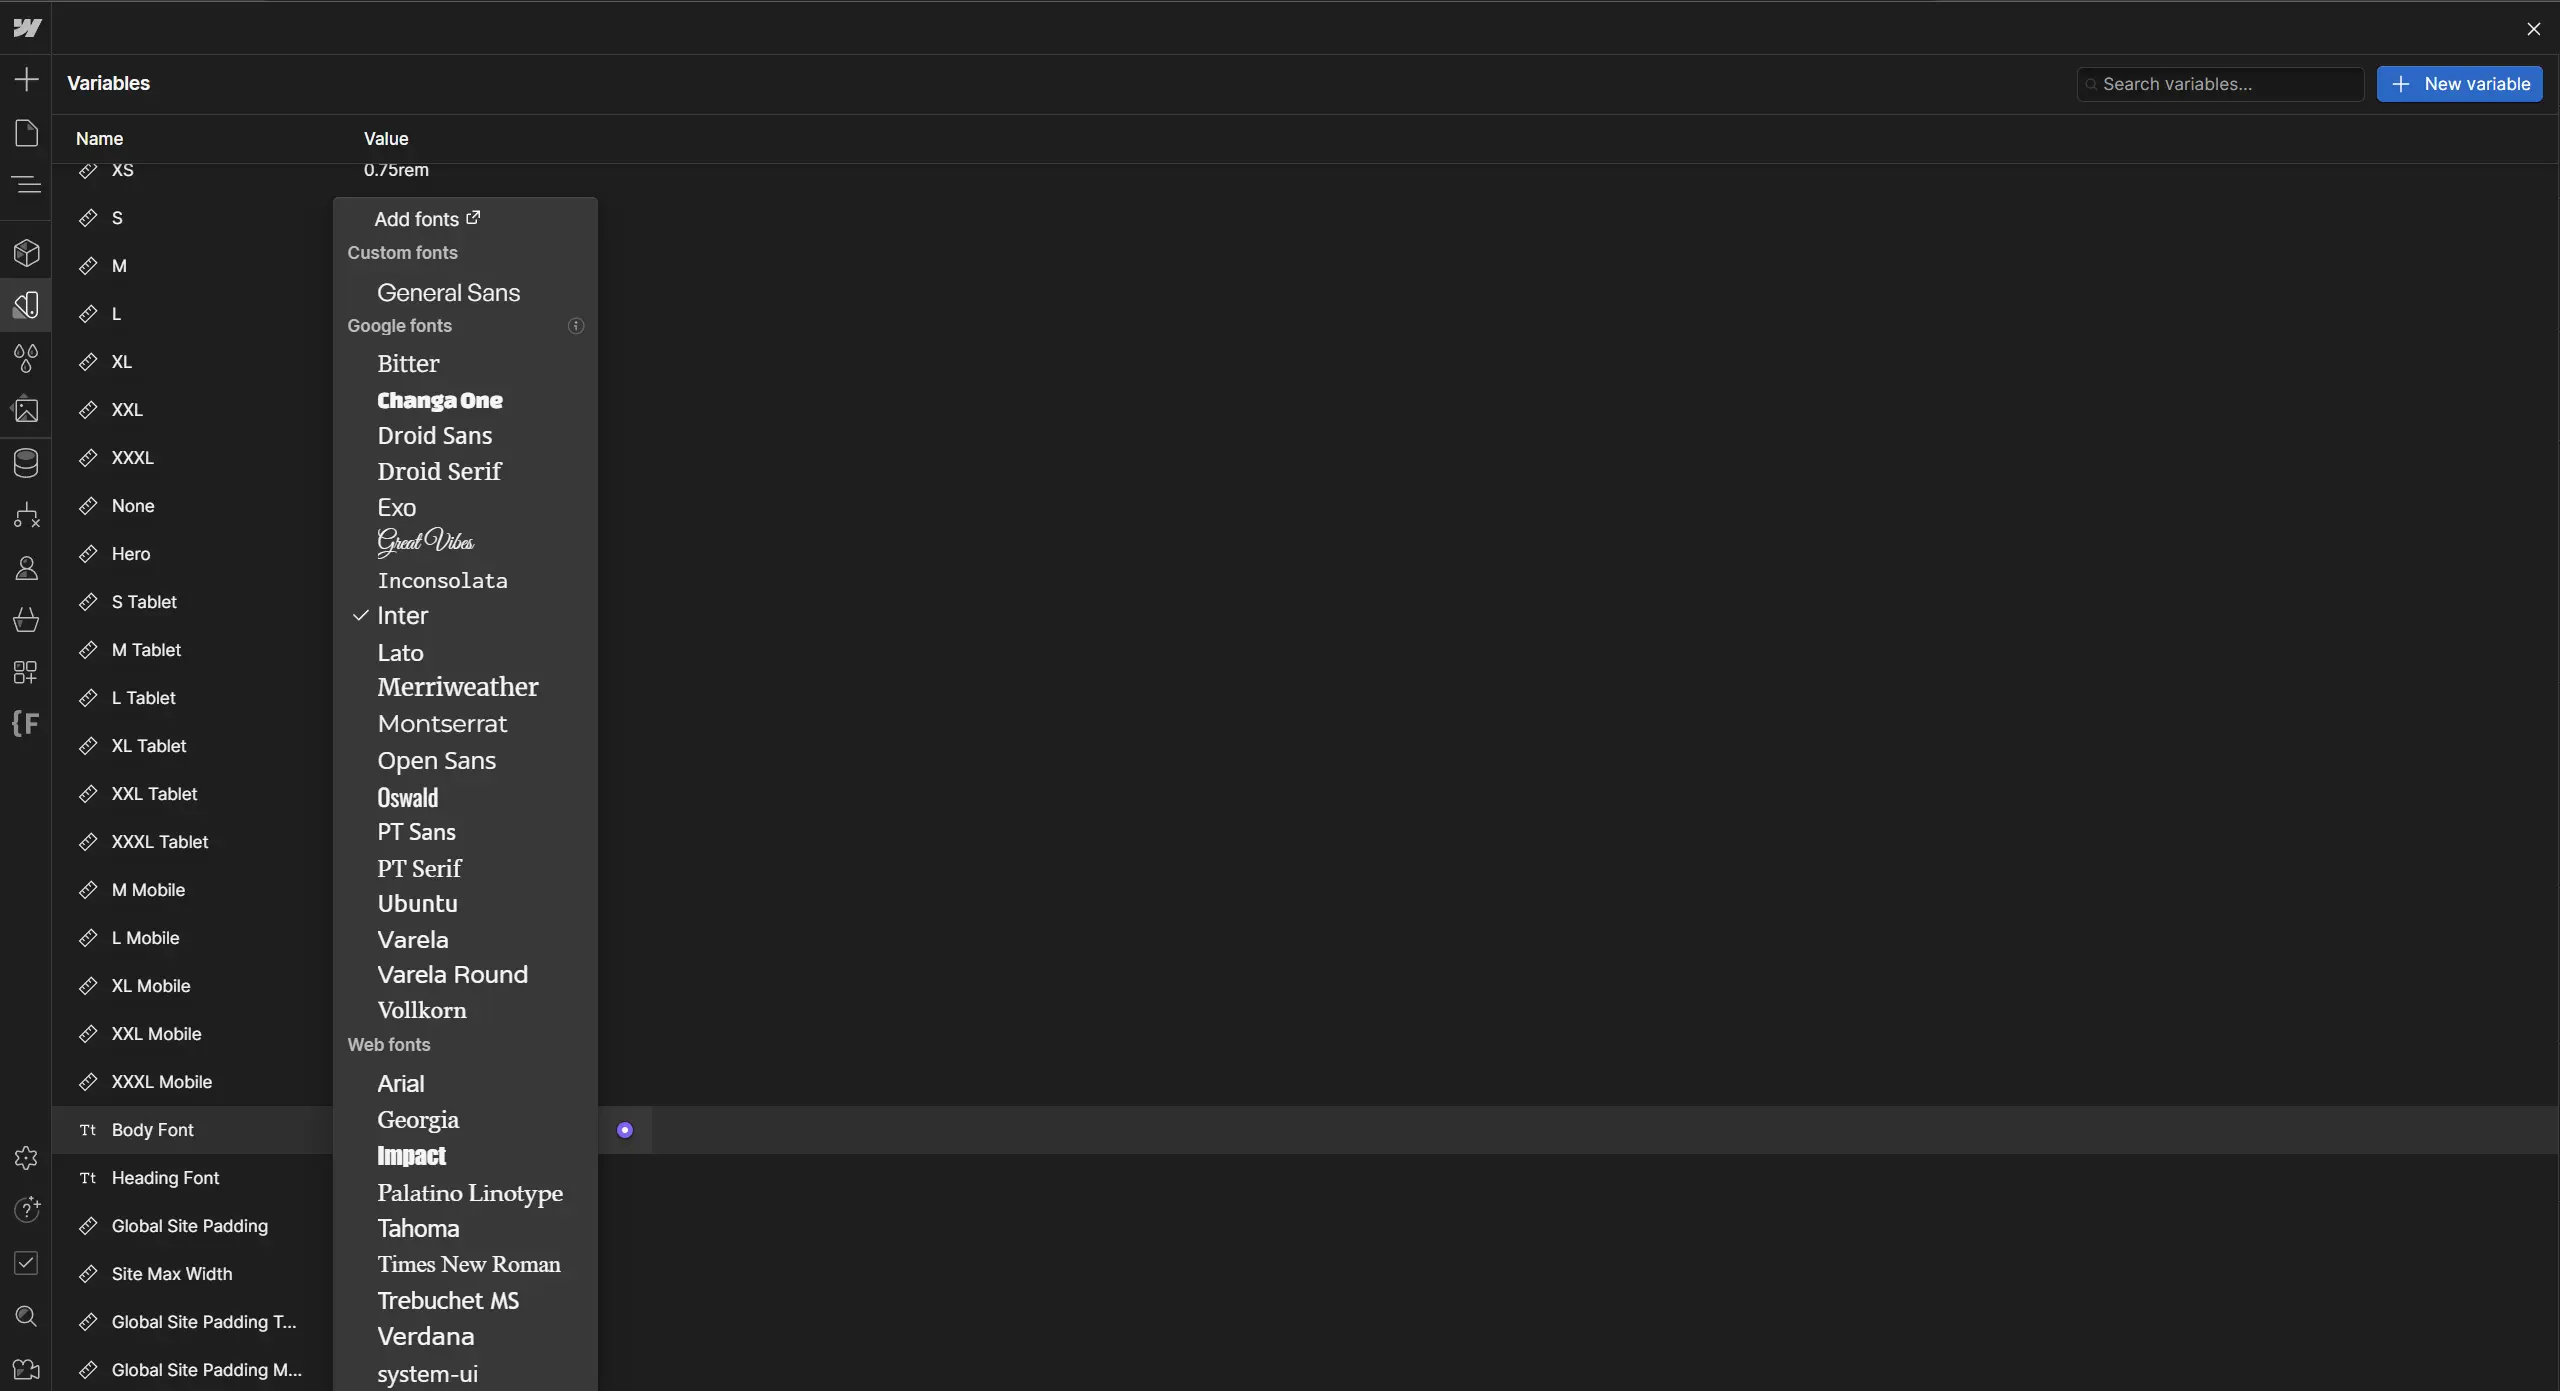
Archvista uses two different fonts; Poppins for body text and Platypi for the Heading Text.
To change the sites fonts, we once again need to head to the variables tab. This time look for the 'Body Font' and 'Heading Font' variables. You can then simply click the value and change these to whatever you like. The update will change all over the site.
If you want to upload your own custom fonts, you can do this in the main site settings, outside of the designer. Your uploaded fonts will then appear in the selection list.
Adding/Changing Content
Static Content
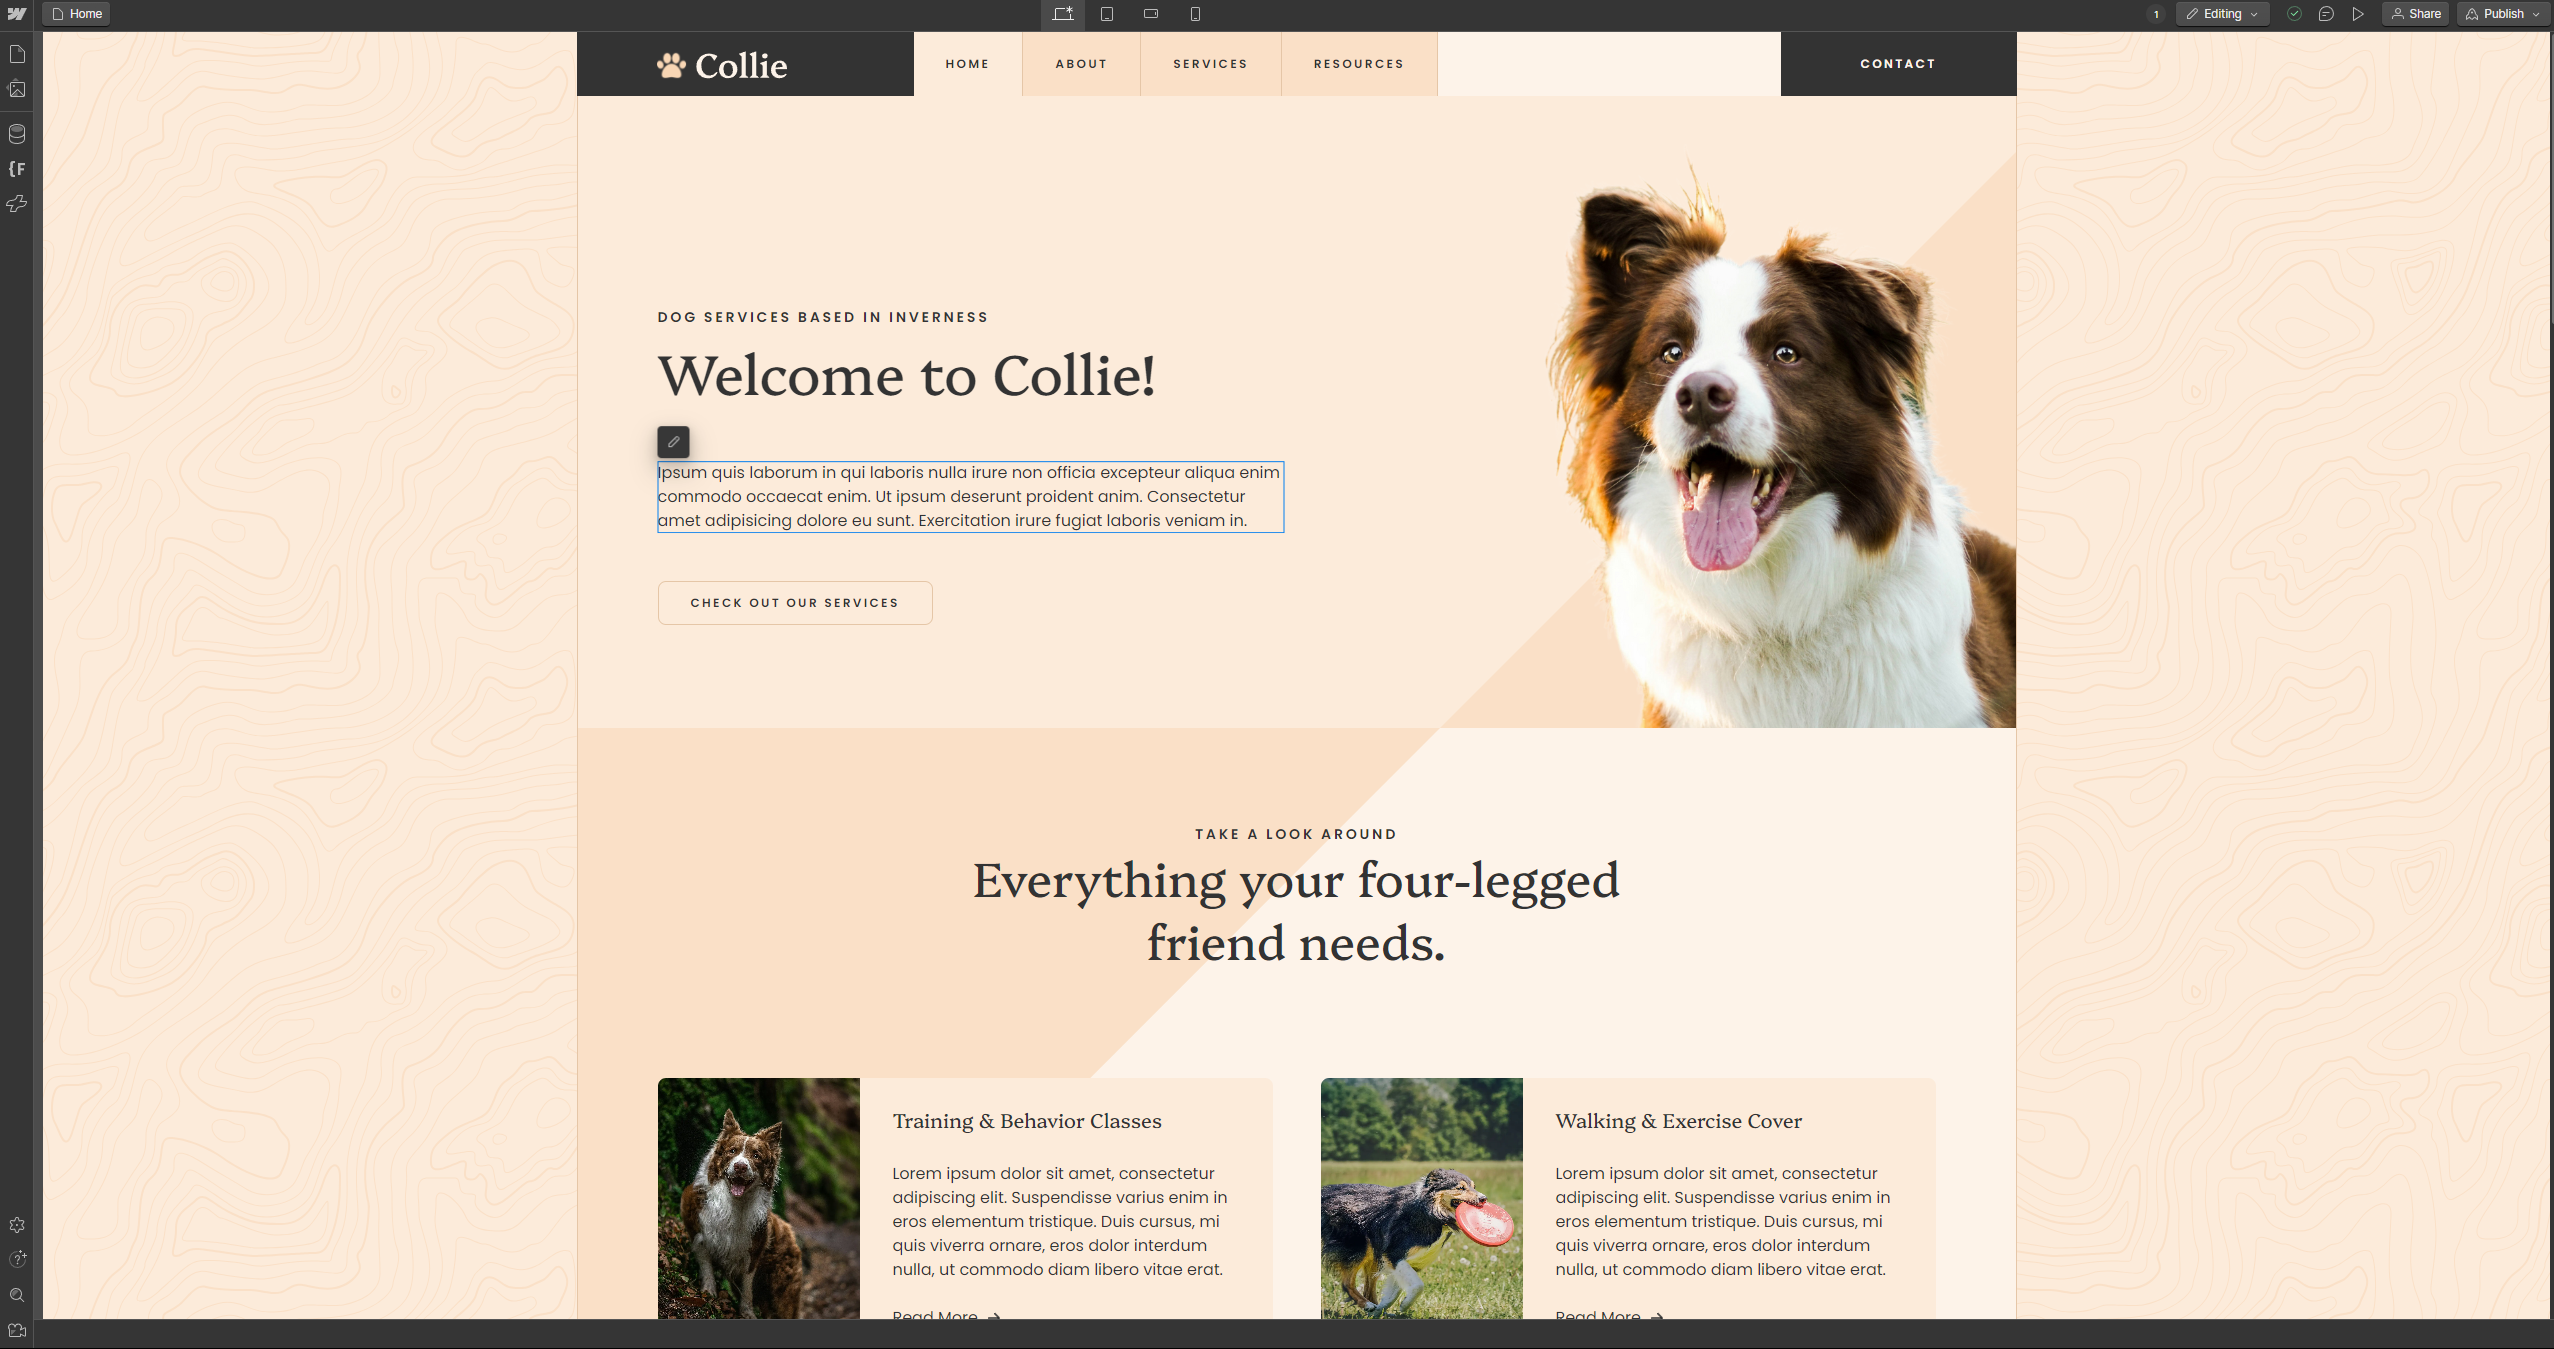
The easiest and simplest way to change content on the site is through Webflow's editor. This is separate from the designer and lets you adjust text and images without the overwhelming UI! To access this when in the designer, click the 'Designing' button in the top right, and then pick the 'Editing' option in the drop-down. These edits will go live the next time you publish the site.
Unfortunately Webflow does not currently support changes of some elements, such as link blocks, in the editor, this means you will have to adjust content such as this through the designer instead.
CMS Content
For CMS content, in this case the Team Members and Resource posts, you'll need to make adjustments in the CMS editor. This can be found on the left hand sidebar (its the icon with the three discs stacked together). From here click the collection you want to edit, and then the specific item you want to adjust. You'll then see a list of all the properties of that item, which you can change to your hearts content. After you're done, click save, and the edits will go live the next time you publish the site.
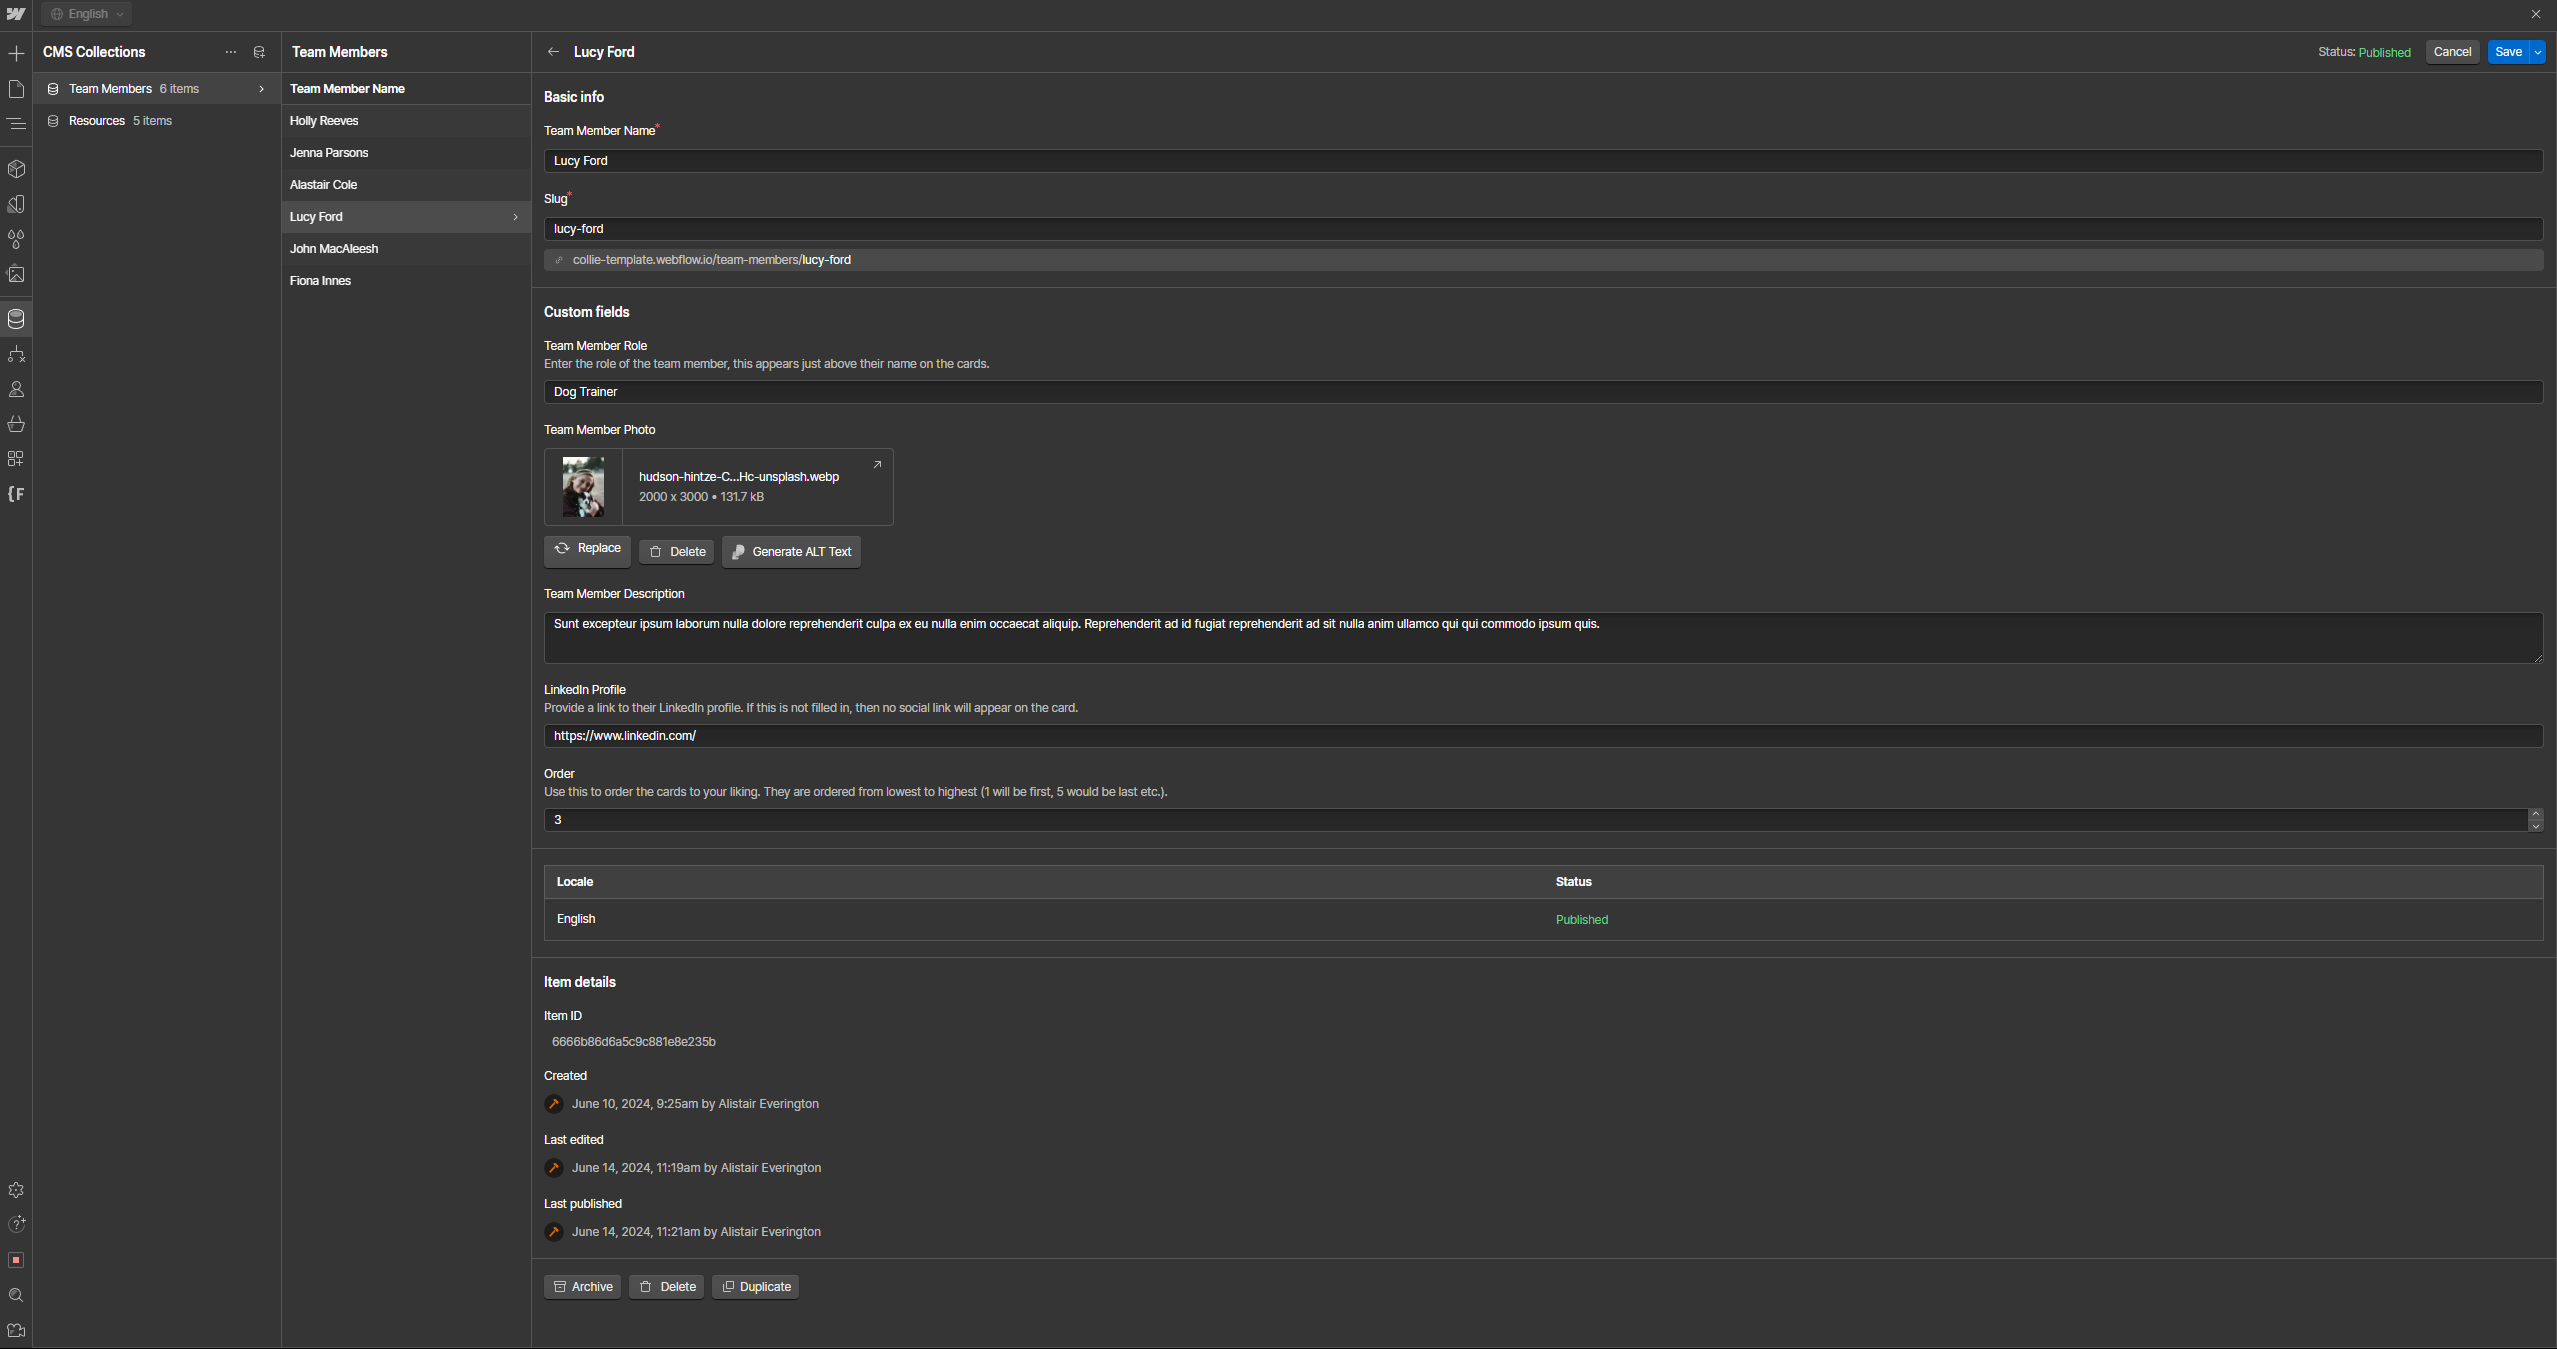
To create a new item in either collection, click the new 'item' button in the top right of the screen when you are viewing the list of items. Then fill in the content and hit save! This will then be automatically added to the site and, if necessary, a new page will be generated next time you publish!
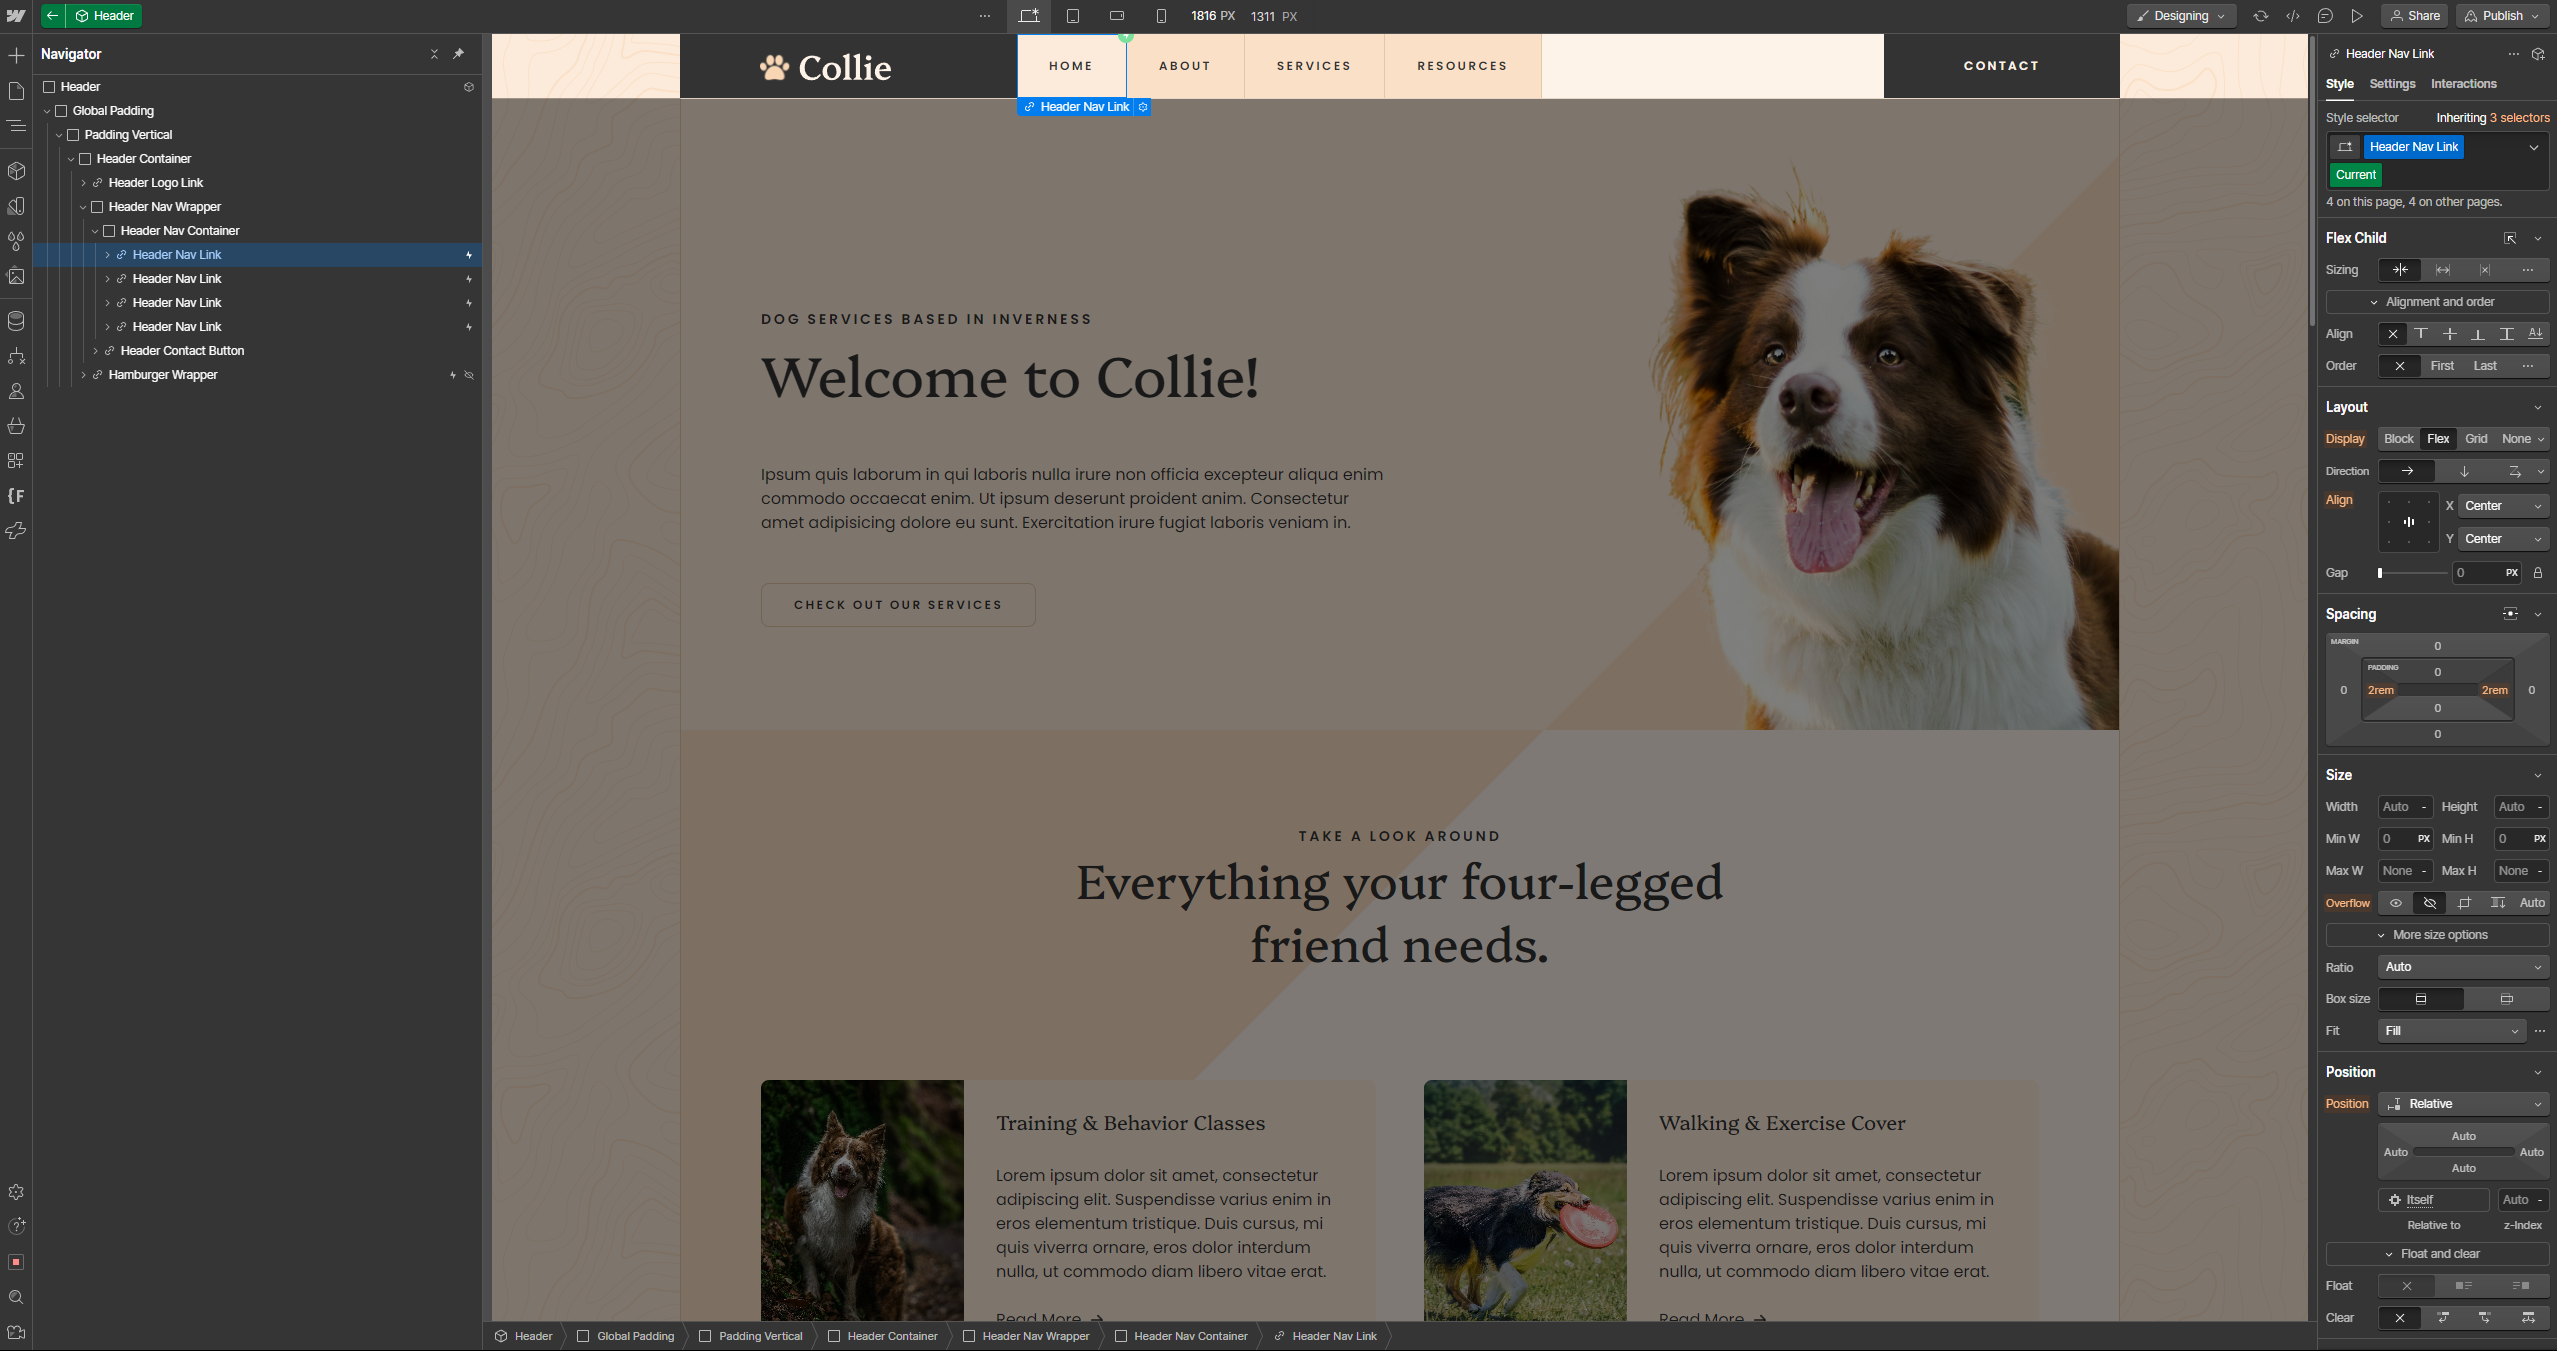
Editing the Header and Footer
The header and footer cannot be edited using the editor function, instead they must be adjusted in the designer. To do this, double click anywhere on them to enter into the component and then you can make edits. Since these are components, the changes will occur across all pages, so you'll only have to do this once!
Once inside, click the element you wish to adjust and then make the changes you want.
- To adjust text, double click on the text element to begin editing.
- To adjust links, click the cog icon on the element to view the link editor, from here you can select the type of link you want, alongside many other settings.
- To create new page links in the header, simply copy and paste (using Ctrl+C and Ctrl+V) the "Header Nav Link" element and a new link will appear in the list. You can then change the text and link settings as you wish.
Extra Information
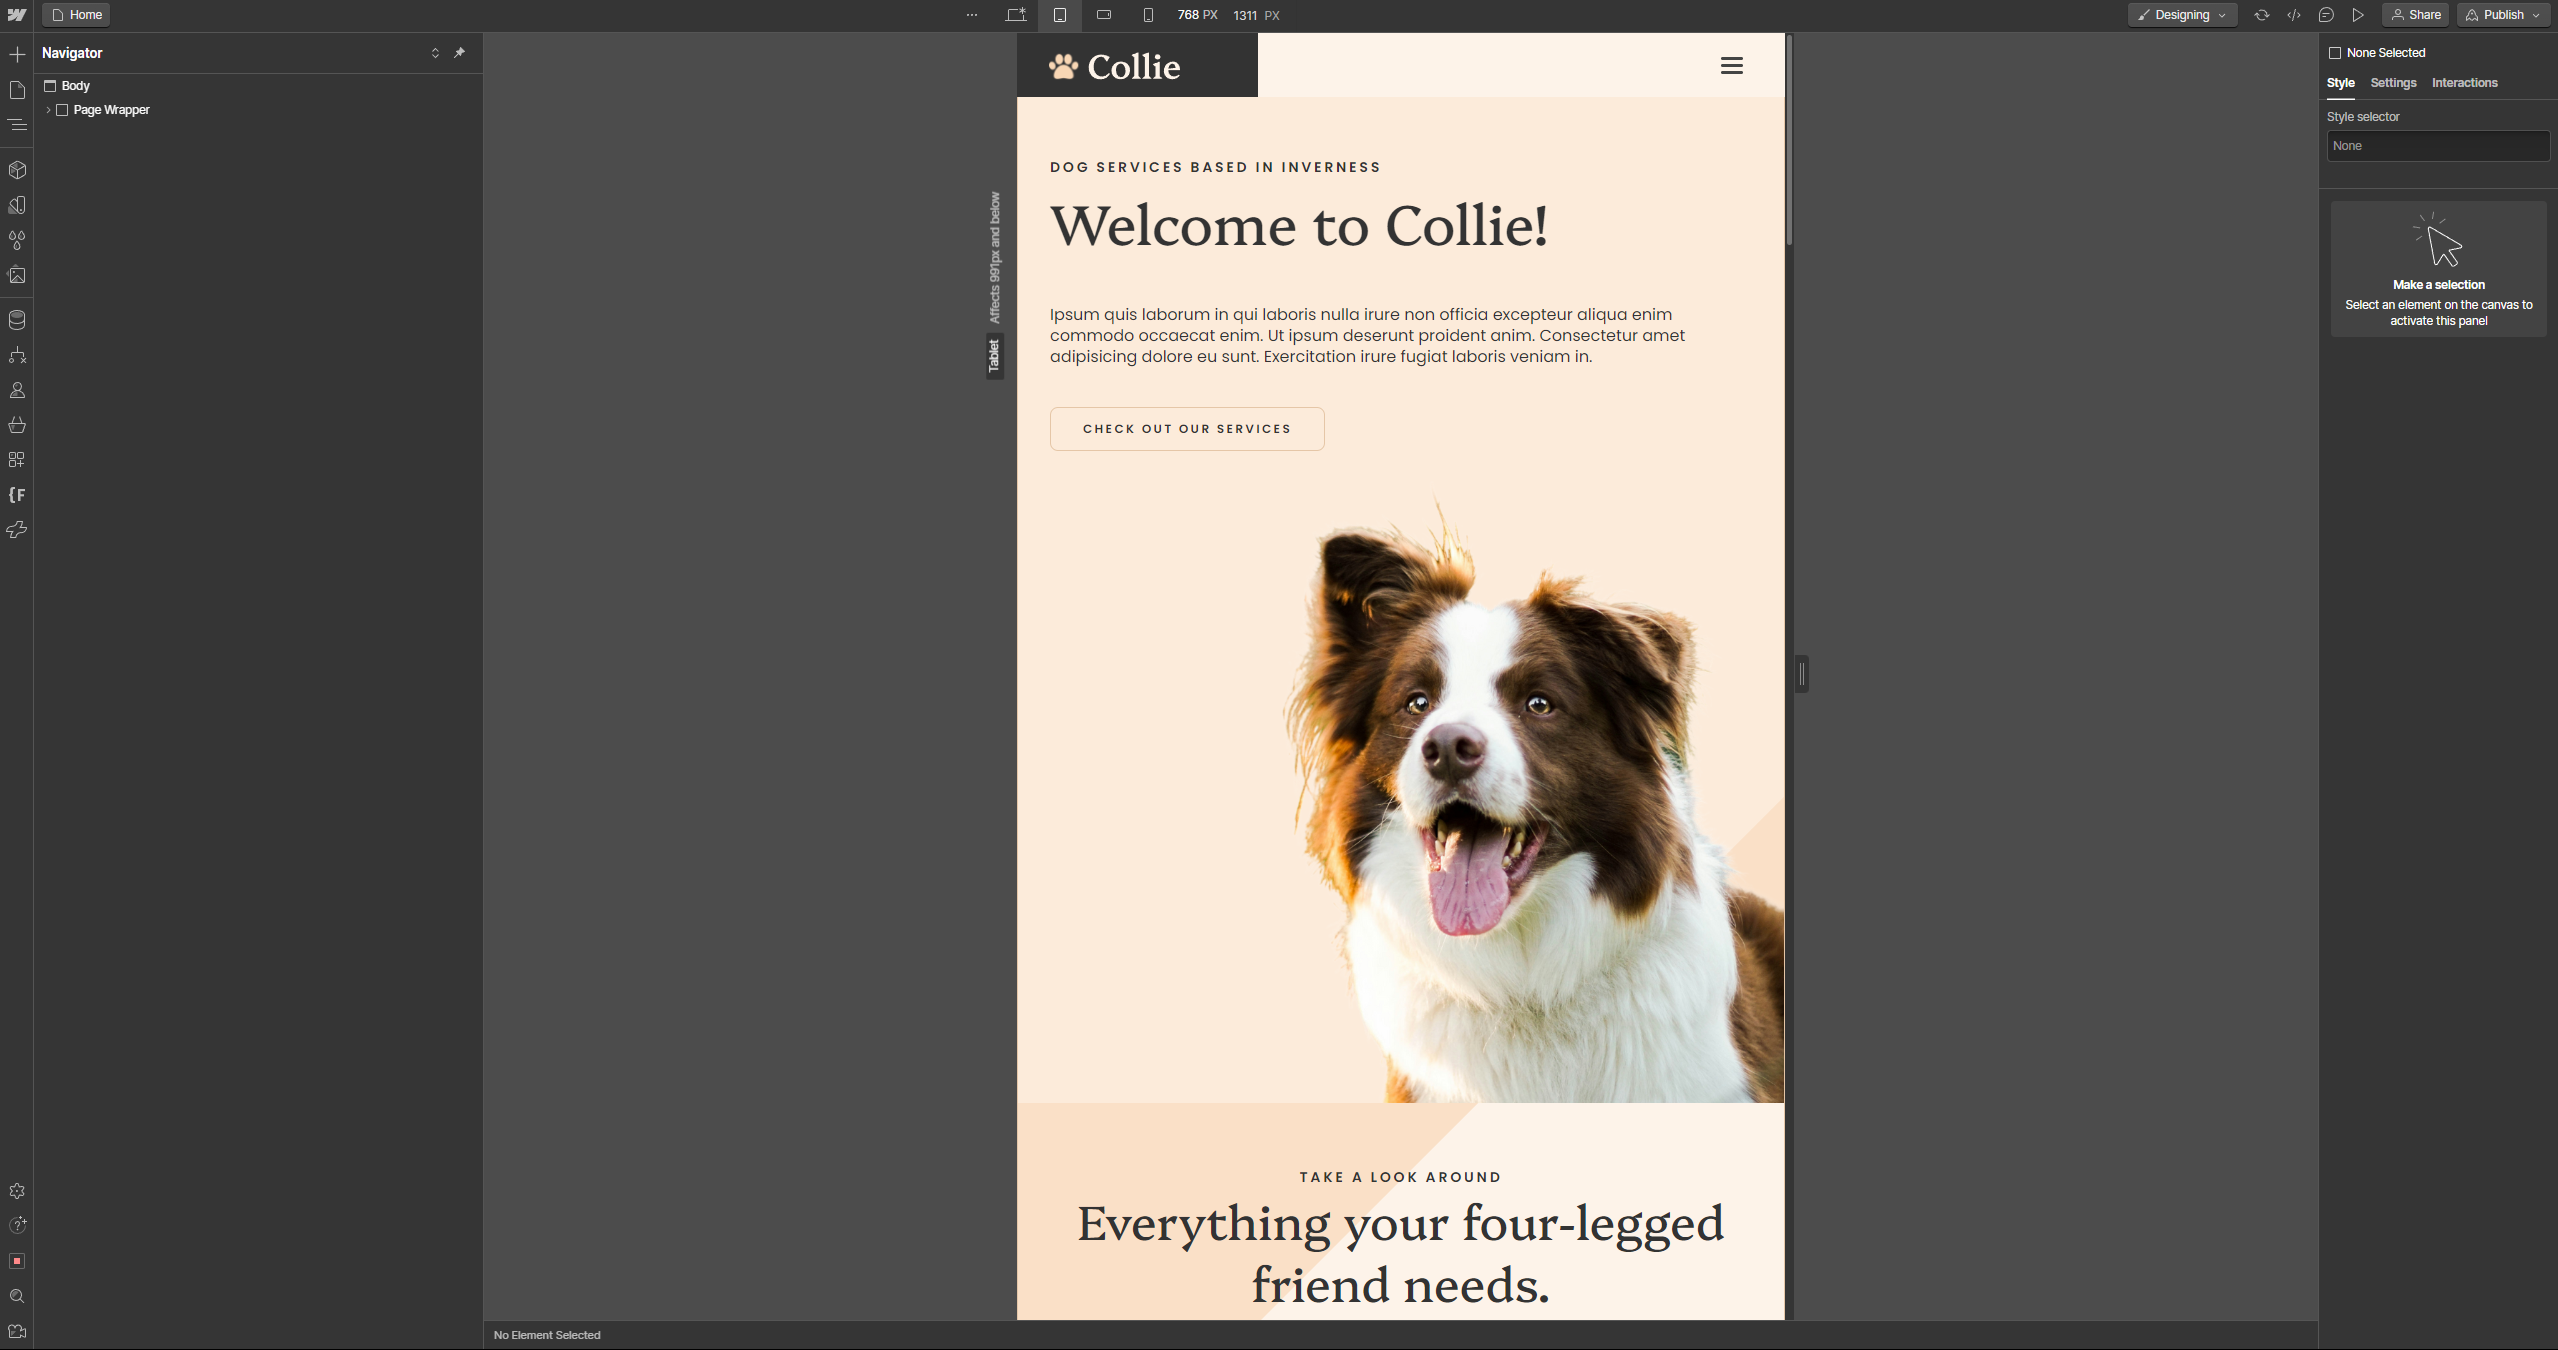
Editing Mobile/Tablet View
If you want to adjust the way things look on mobile or tablet, you can do so by clicking the corresponding icon at the top middle of the designer. Once in the new width mode, you can make changes that will impact that width and any widths smaller than it. Making an edit on tablet will also affect both mobile landscape and mobile portrait, but an edit on mobile landscape will only affect mobile landscape and mobile portrait, not tablet.
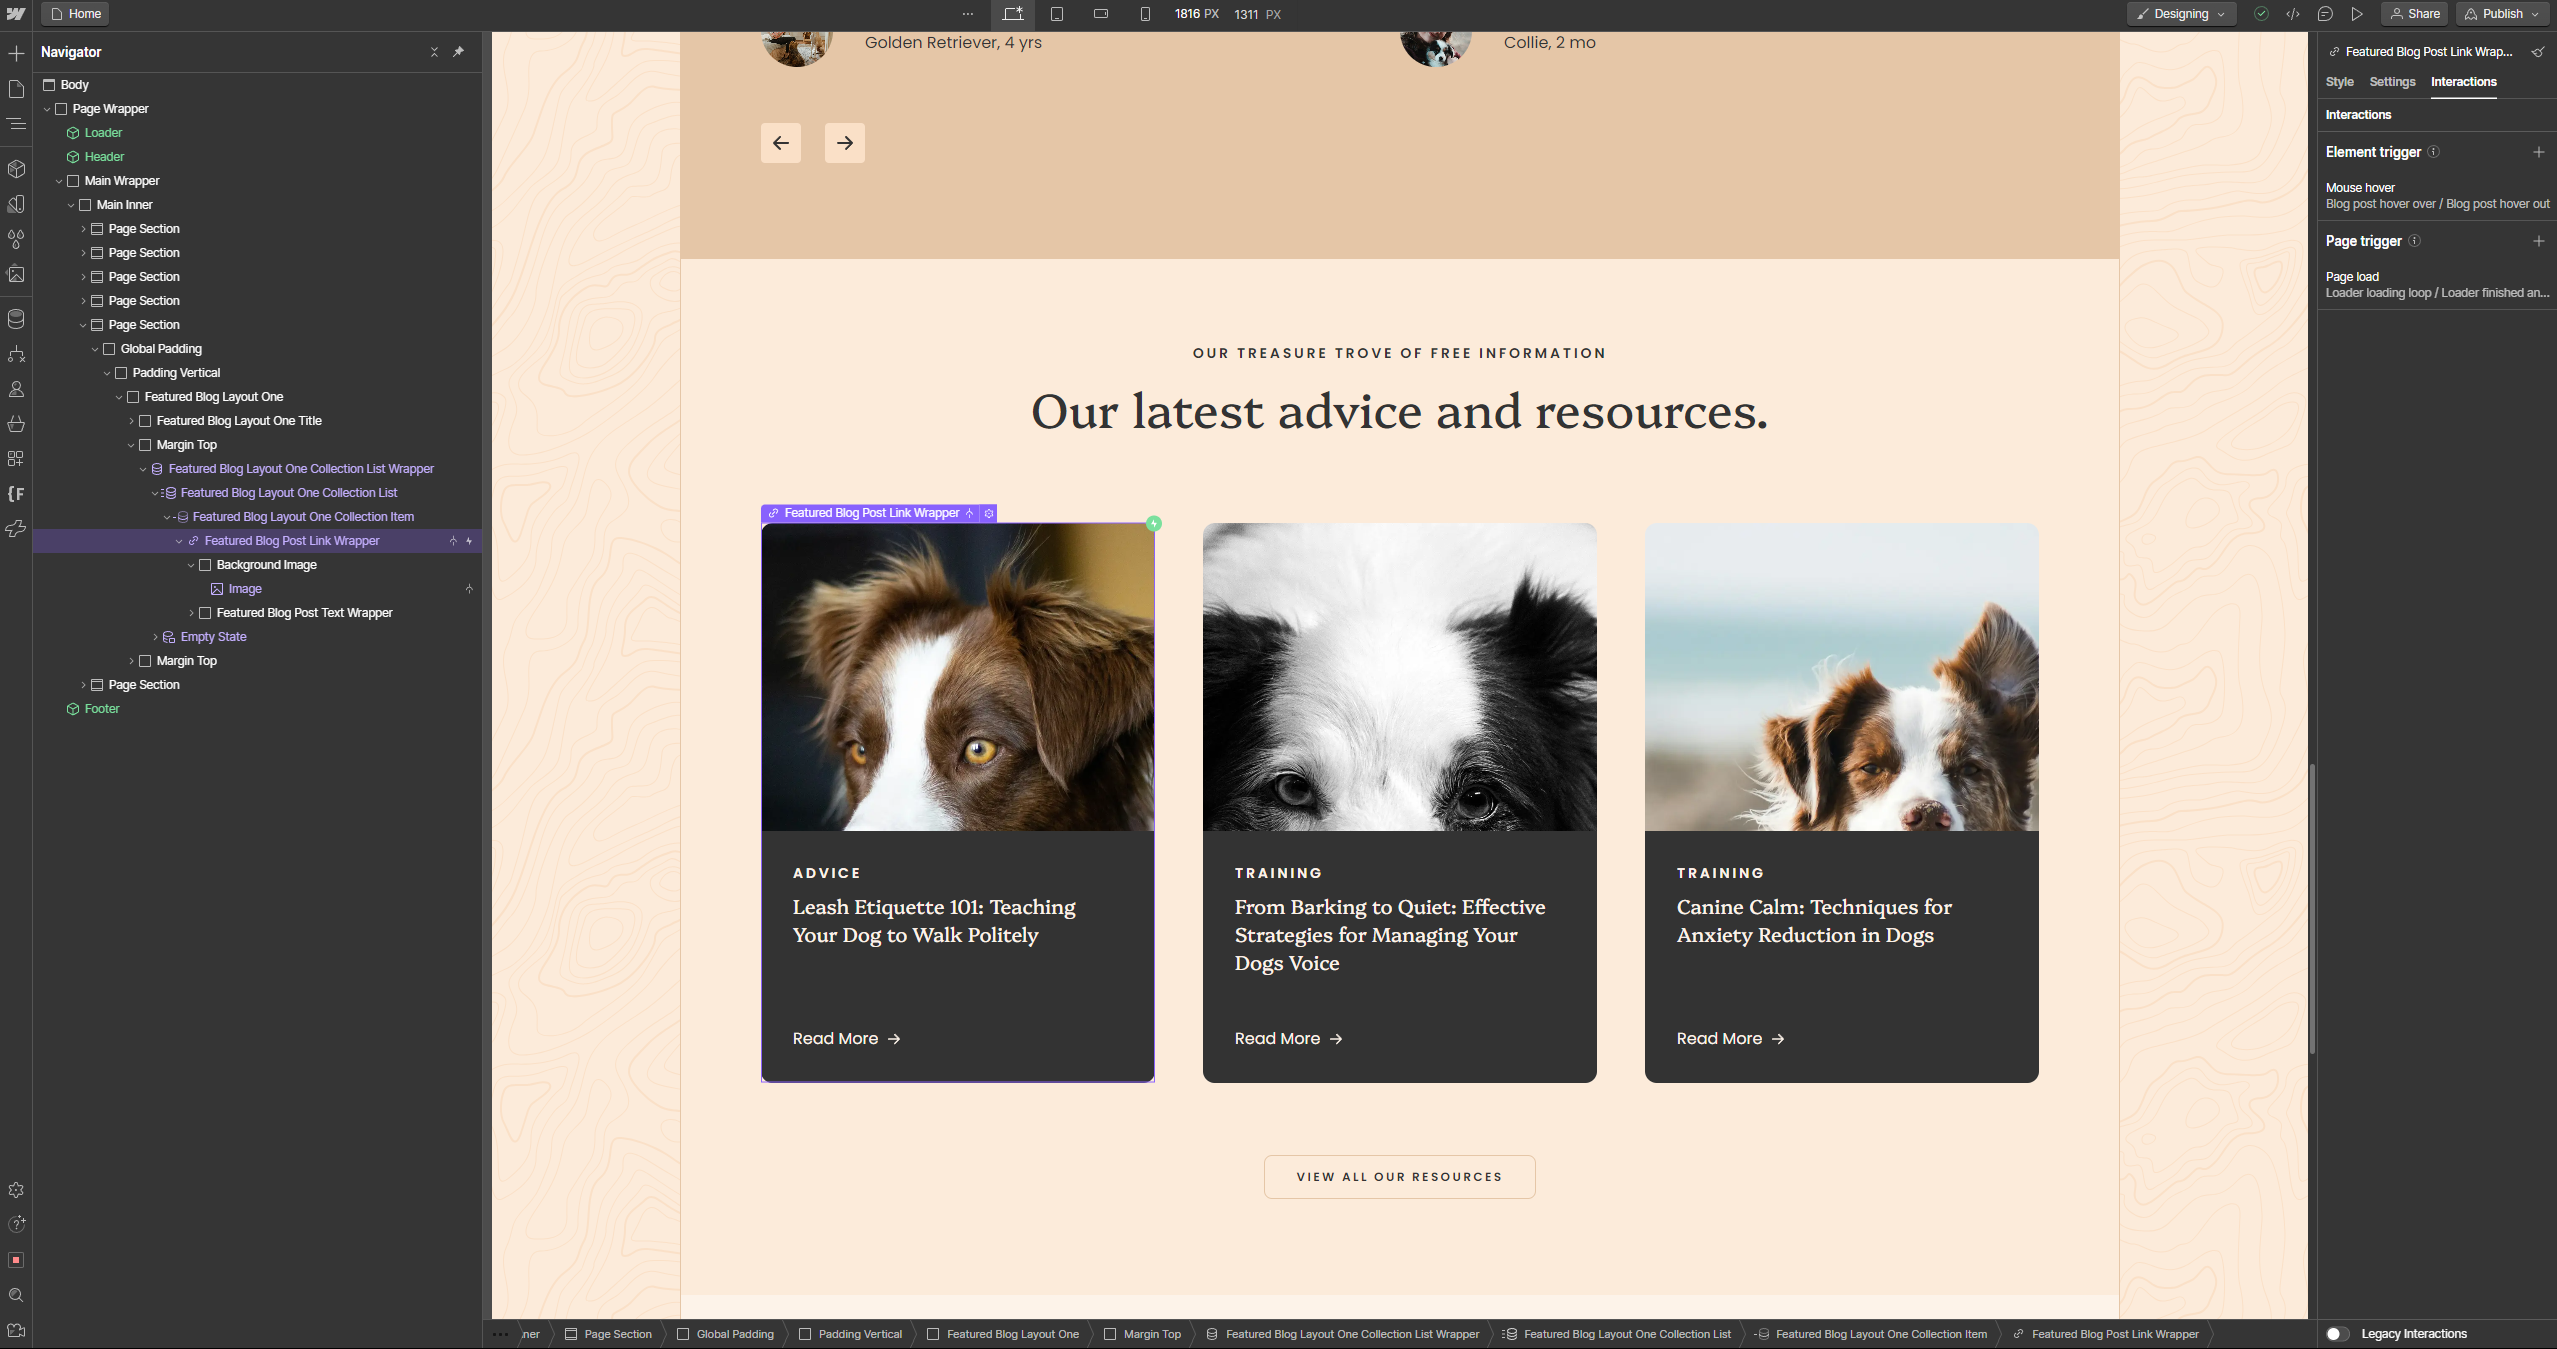
Interactions
Elements that have interactions/animations applied to them can be identified in the designer by a lightning bolt icon on the right of the navigator. You can select these elements, then open the interactions panel using the lightning bolt button in the top right of the screen to view and edit the interaction.
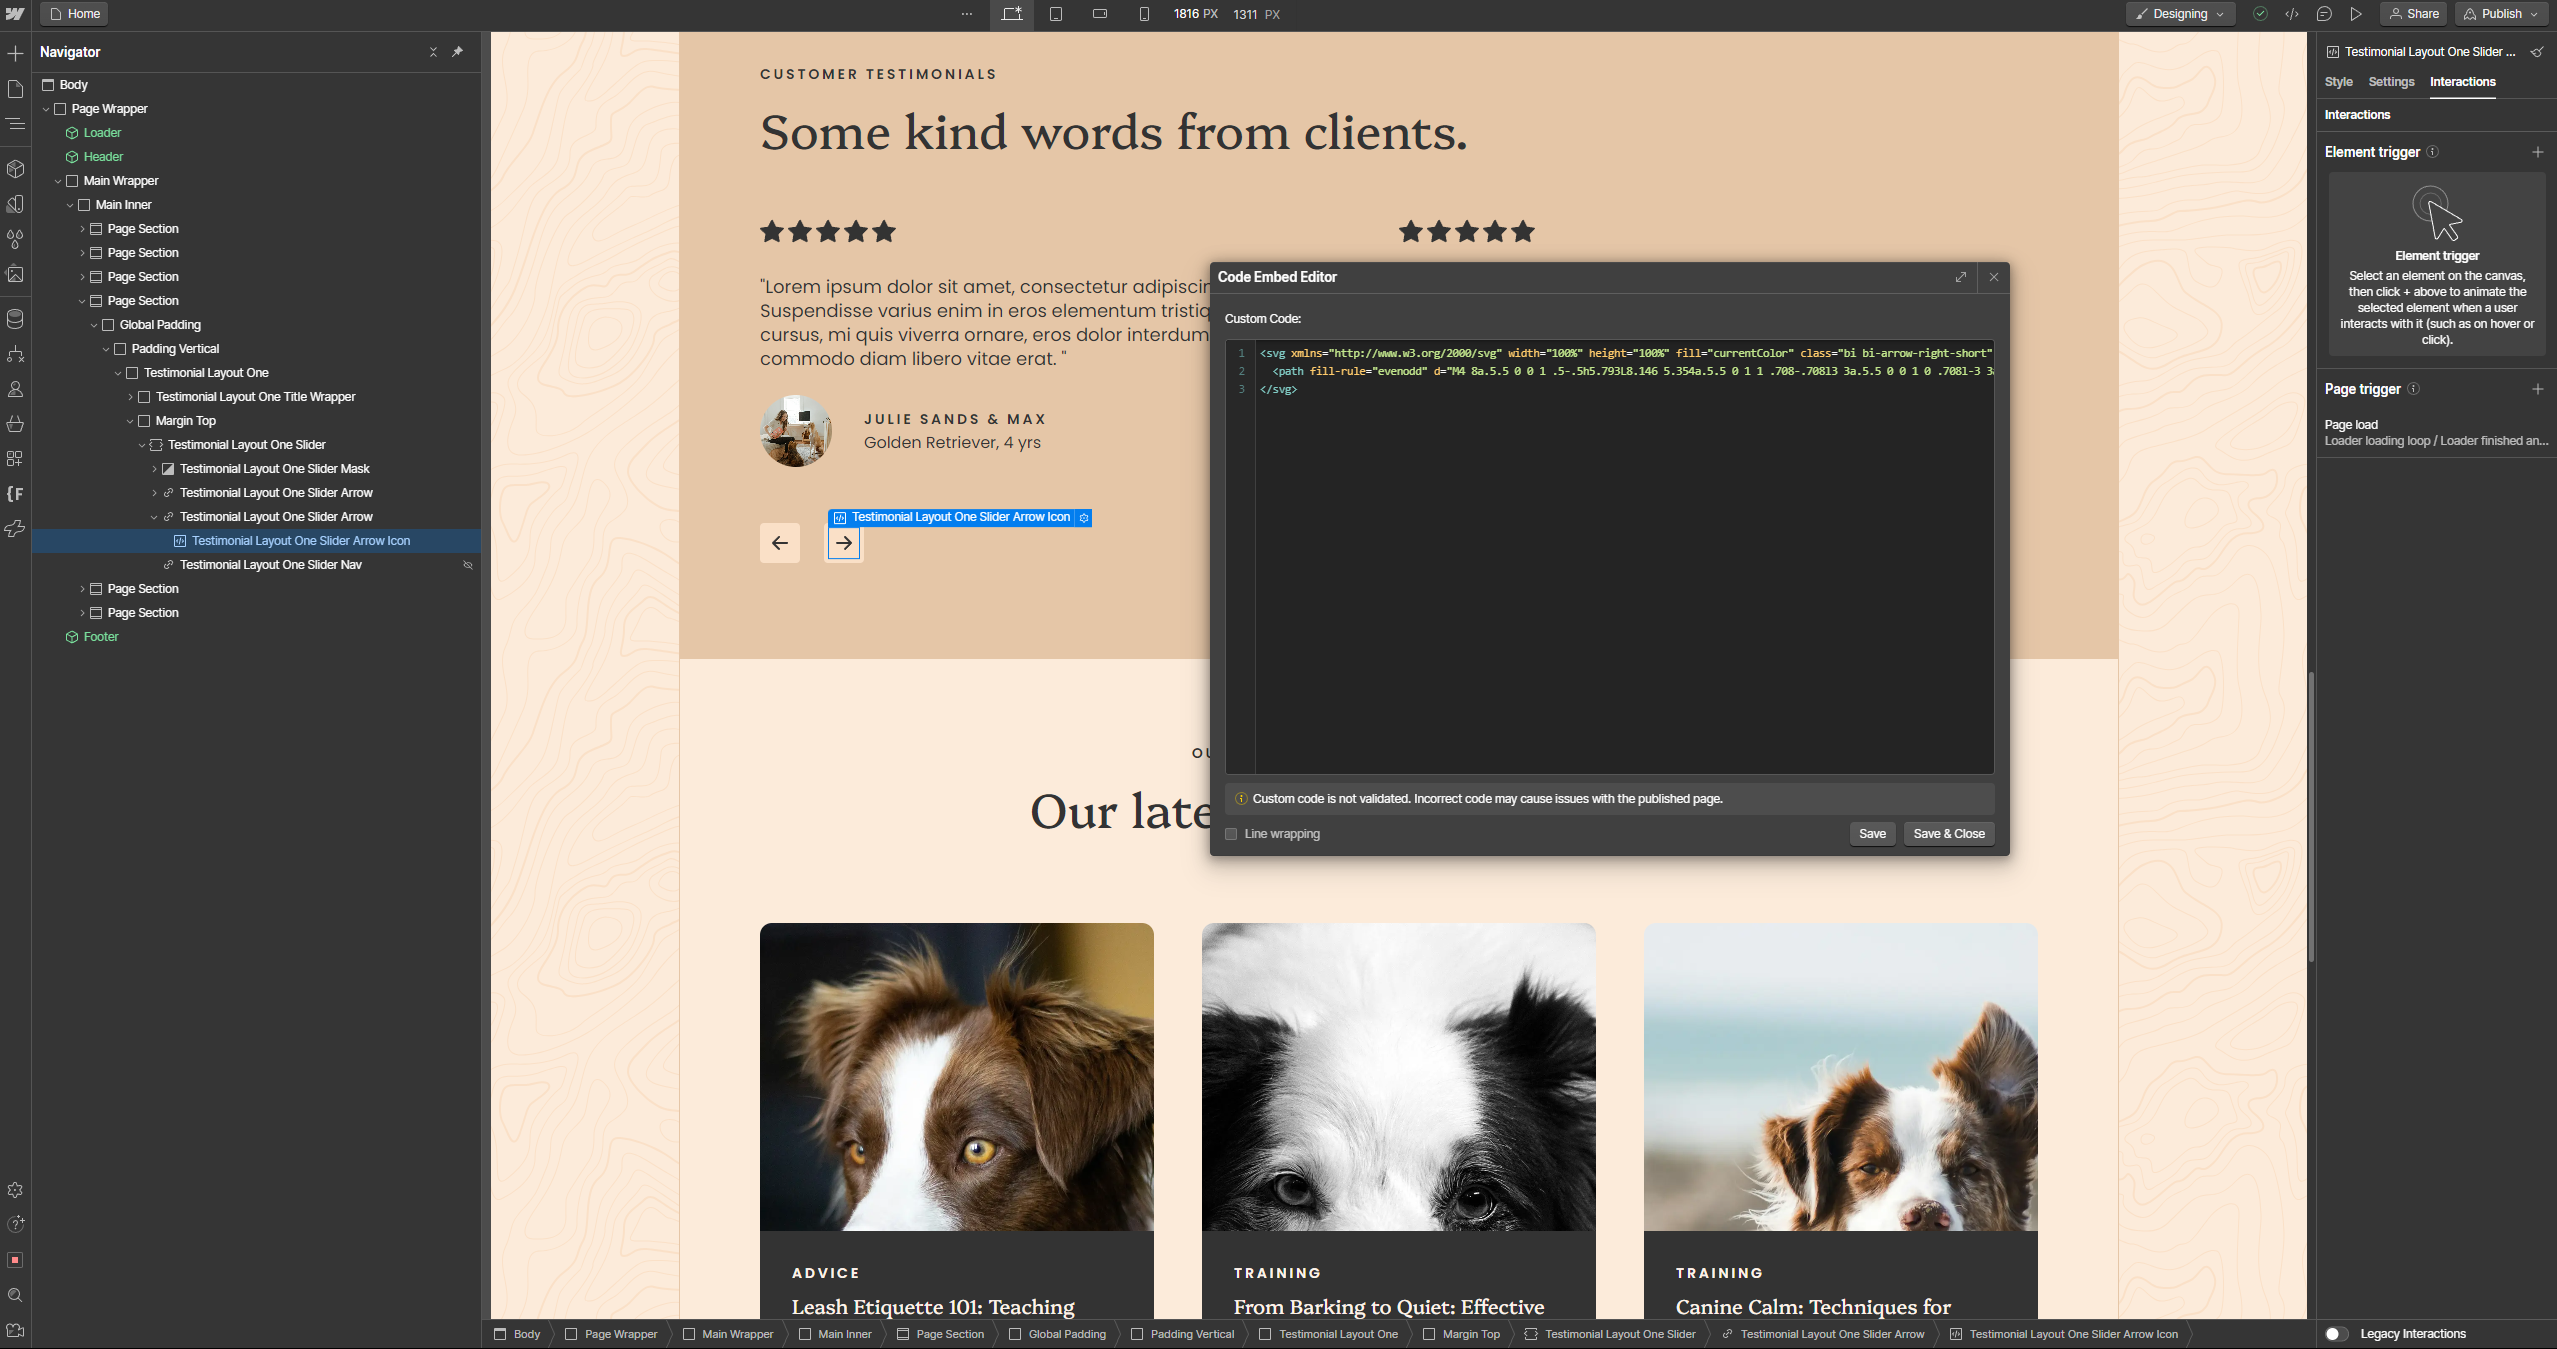
SVG Embeds
Archvista uses SVG's in a few places to add crisp iconography and assets to the template. You can identify these through the 'Code Embed' blocks on the site.
If you want to change the asset, simply open the code embed and adjust the HTML inside to add a different SVG. Free SVG assets can be found all over the web, such as on Bootstrap Icons. To get the code for an icon from here, simply find the icon you like the look of and copy the HTML code found on the icons information page.
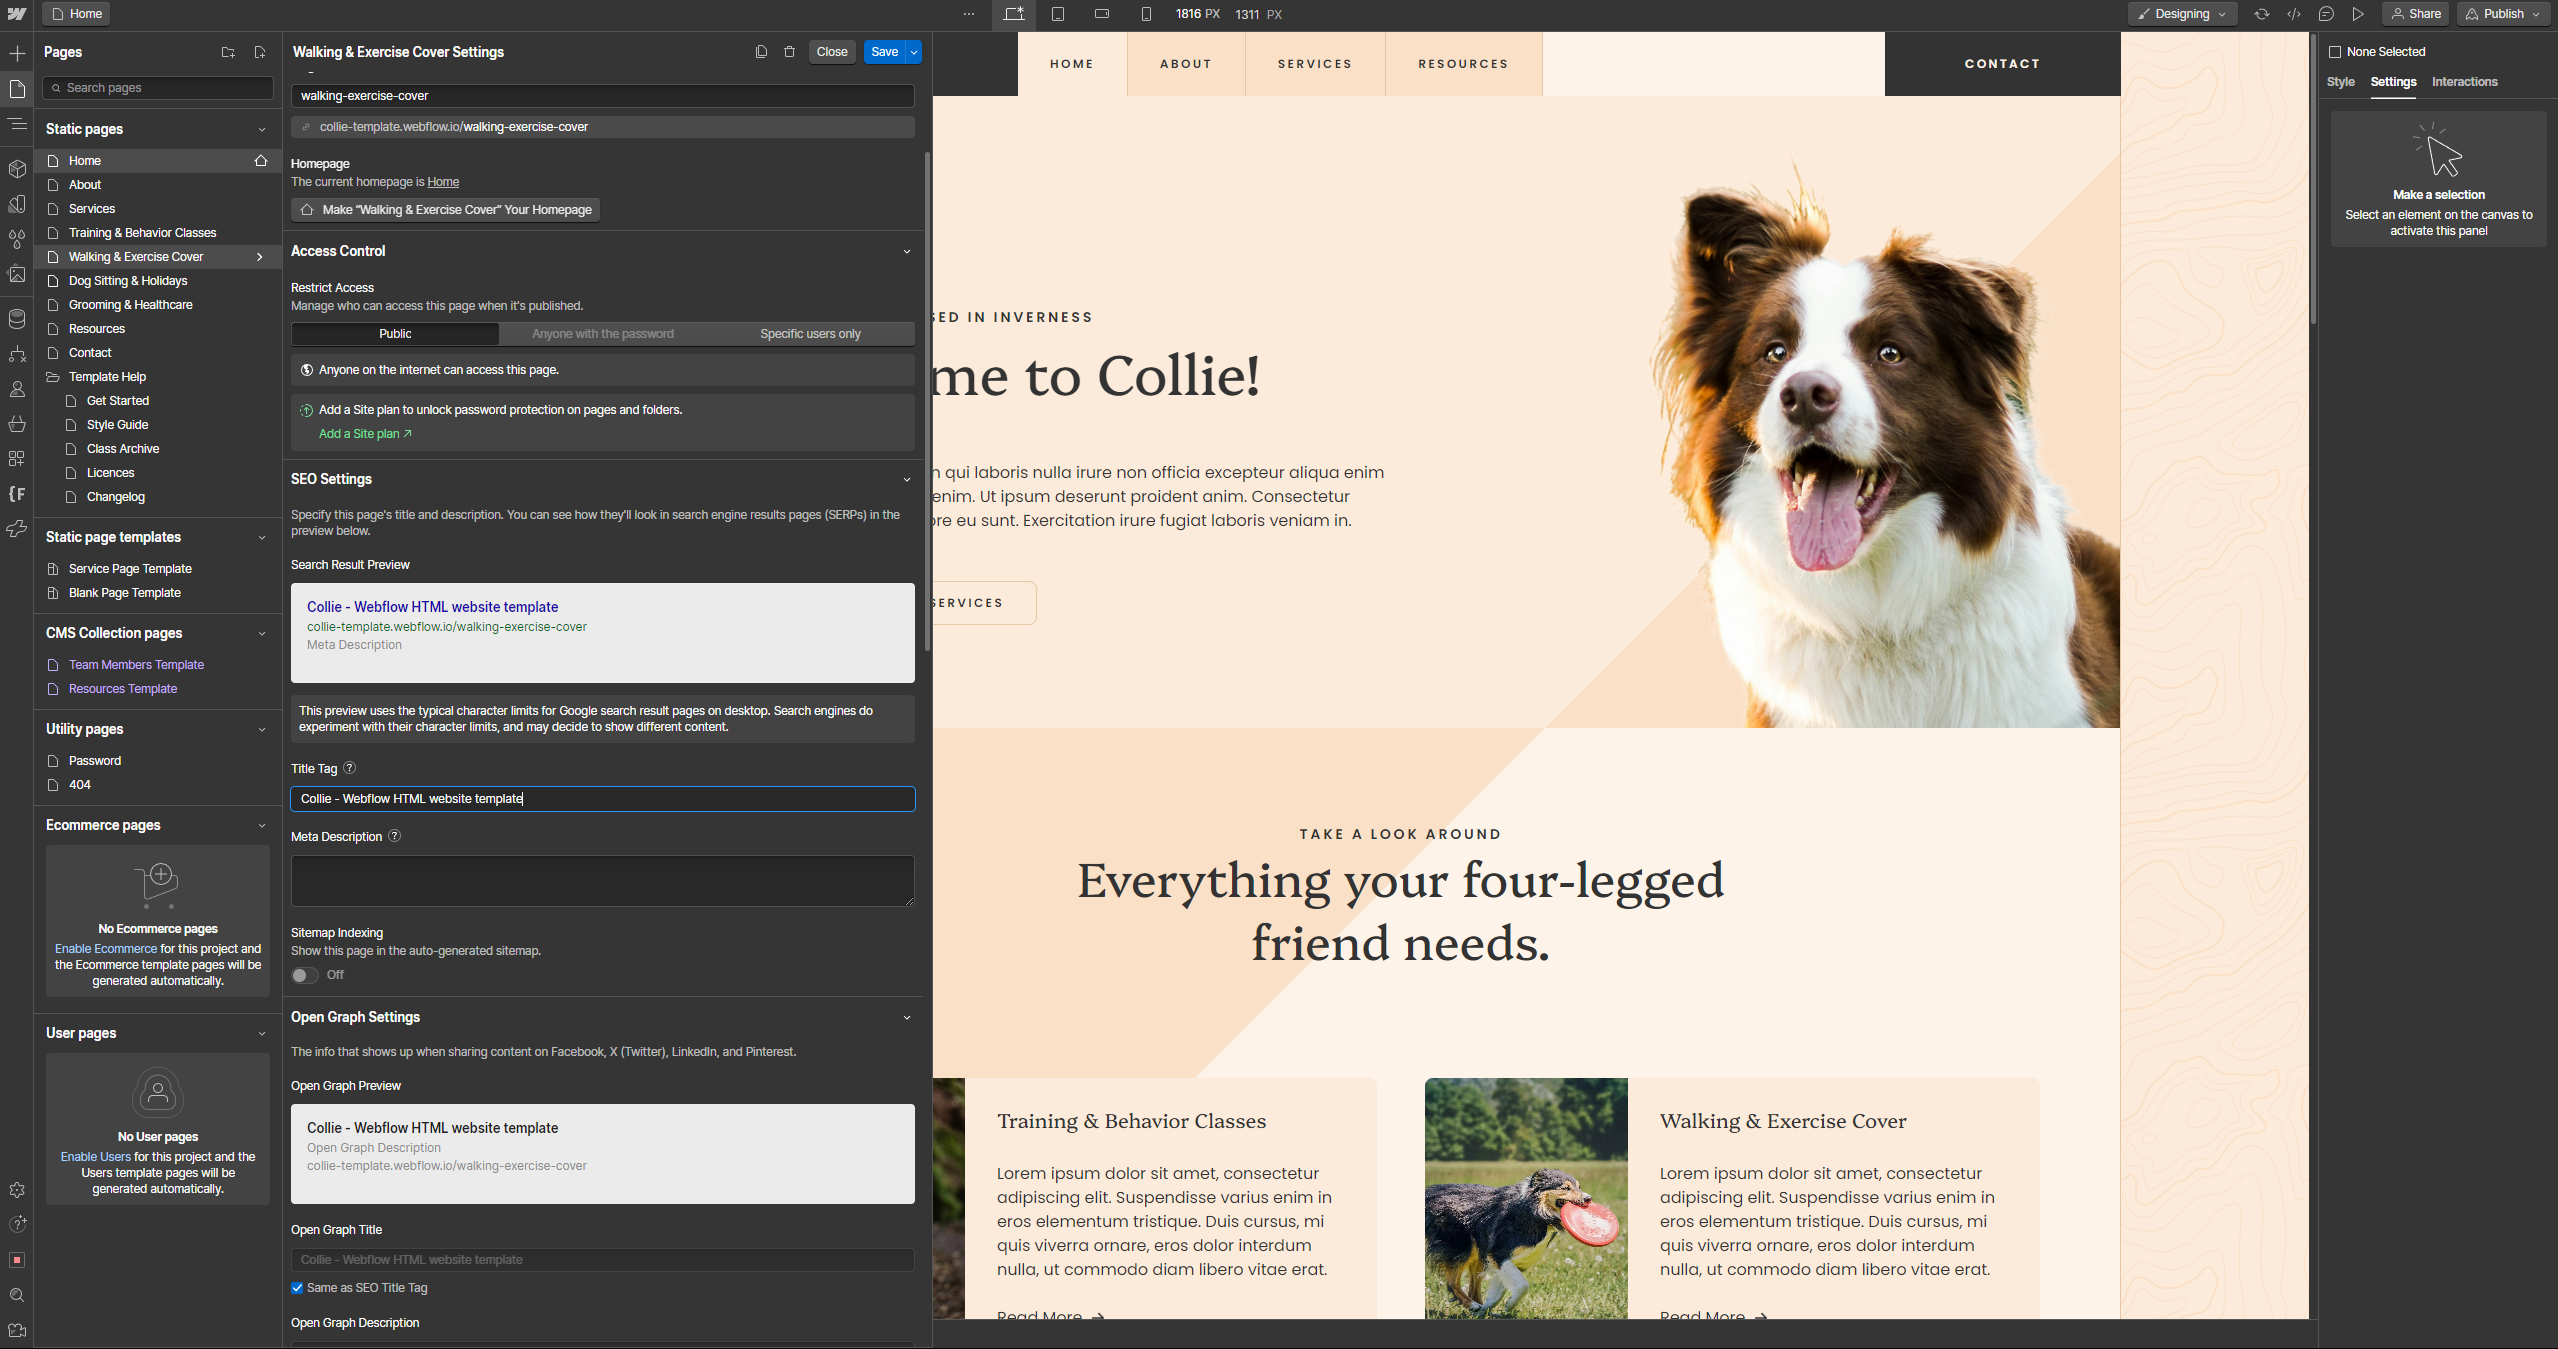
Adjusting SEO Settings
If you'd like to change things like Meta titles and descriptions for SEO purposes, you can find these in the page settings. Open the page selector and click on the cog icon on the right side of the page you'd like to edit. This will open a menu where you can find all the settings you might need. These are page specific so remember to do this across all pages individually.
Support
I hope you find your experience using Collie stress-free, but if you do ever need any help or want to give me some feedback, don't hesitate to reach out to my email; hello@flowforge.co. I always aim to respond within two business days.
Template Set-up Service
If you're feeling really overwhelmed with it all, I do offer a template set-up service for $200, where i'll go through and add in all of your content, as well as making any specific edits you need. If you feel like this is something you might want just get in touch for more information!
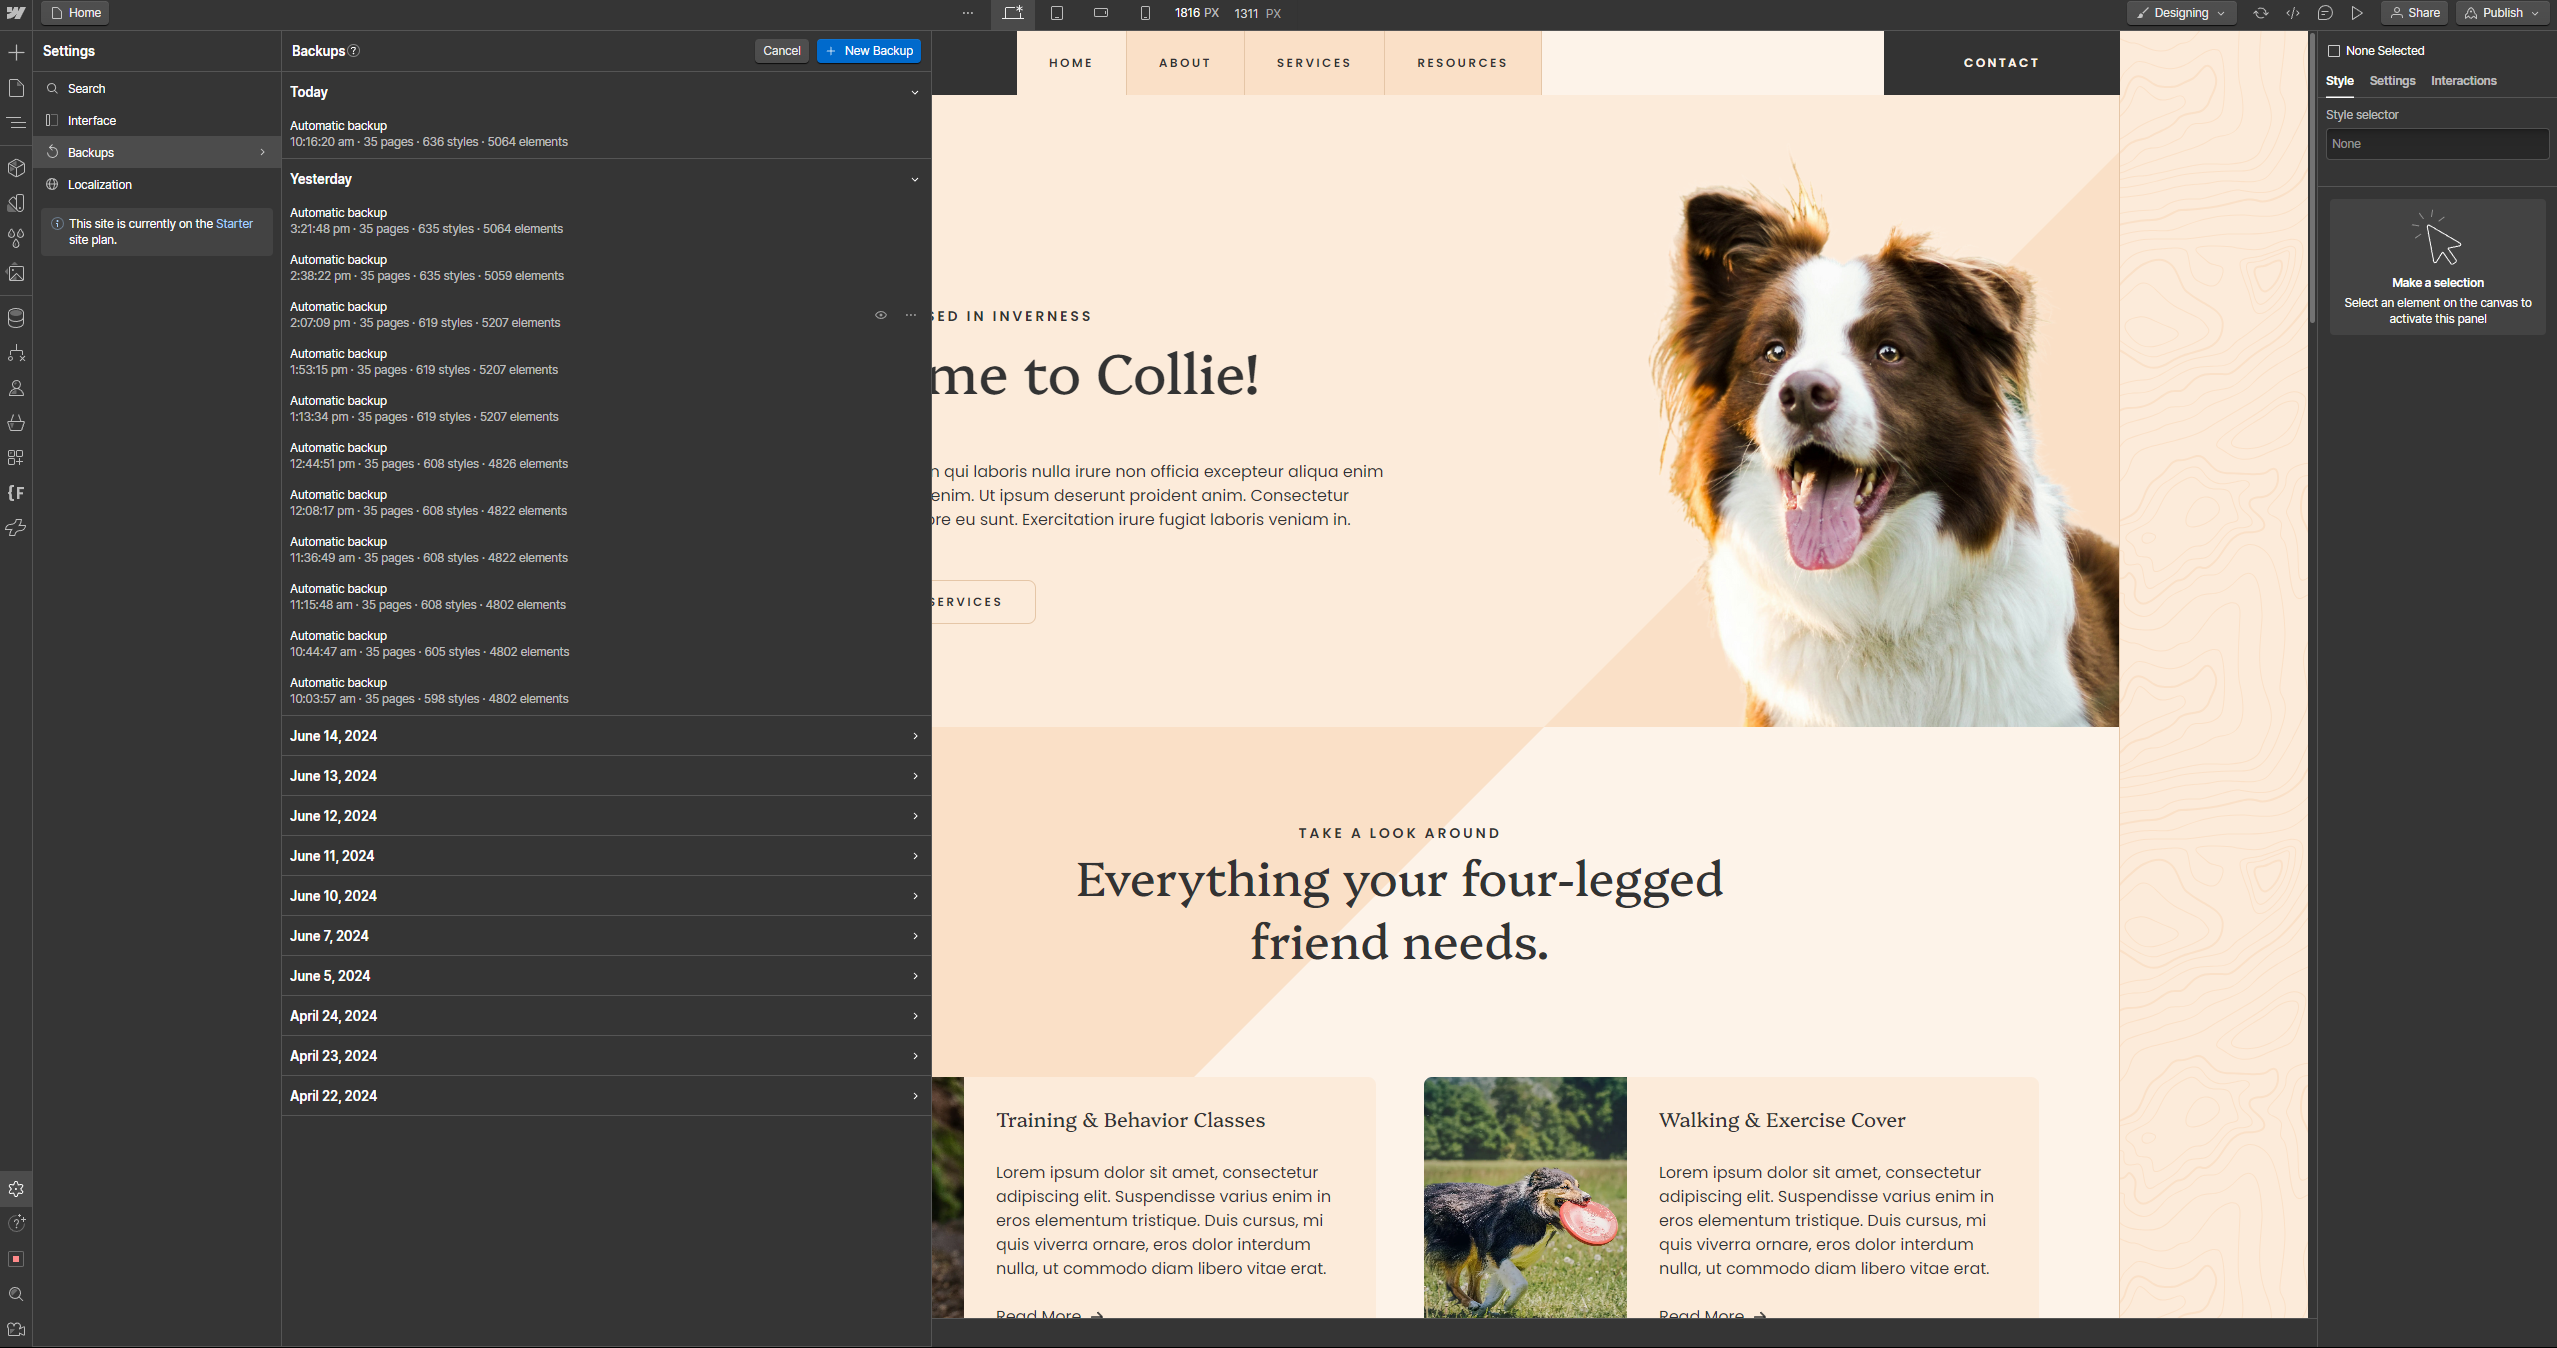
Backups
If at any point you start to panic and think you might have messed something up, don't worry! Webflow automatically backs up your site on a regular basis, so you can easily revert to a previous version where you had things all under control. You'll find these in the site settings (the cog icon in the left sidebar). You can preview these backups, as well as rename them to keep them organised. When you want to restore a site to a backup, simply click the three dots, then 'Restore Backup'.